
Add your logo and company branding
✅ For travel companies ✅ For hotels
Add your company branding so your logo shows front and centre for all trips you create. You can also set up different branding profiles, and add your header & footer for the PDF creations tool.
In this article:
How to add your logo
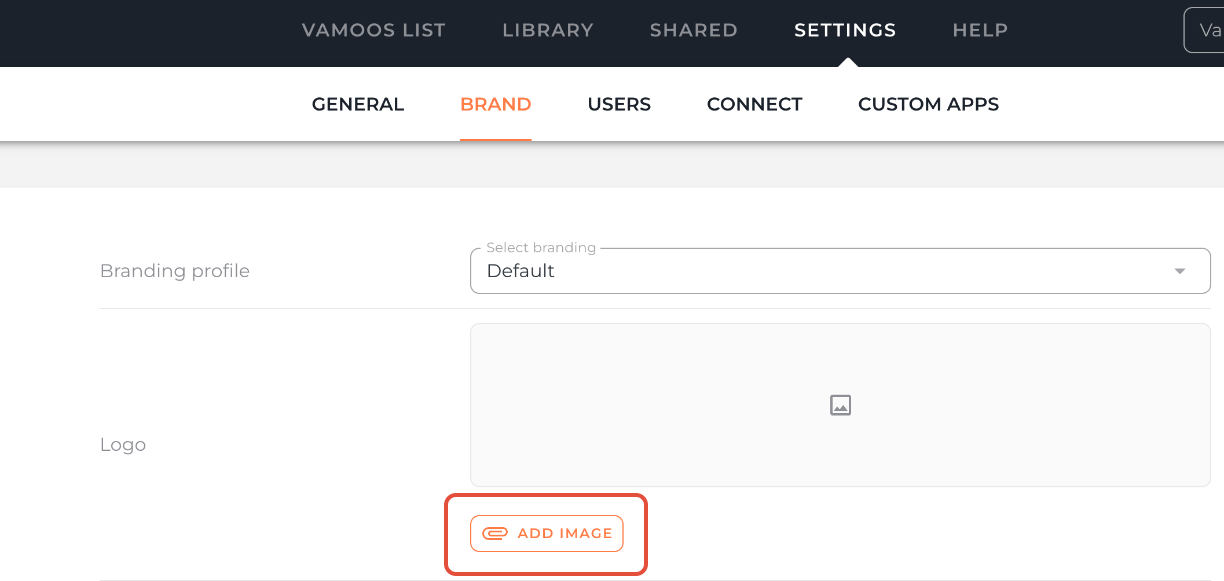
Go to Settings in the top menu bar and select Brand.
Next to Logo, click the Add Image button.
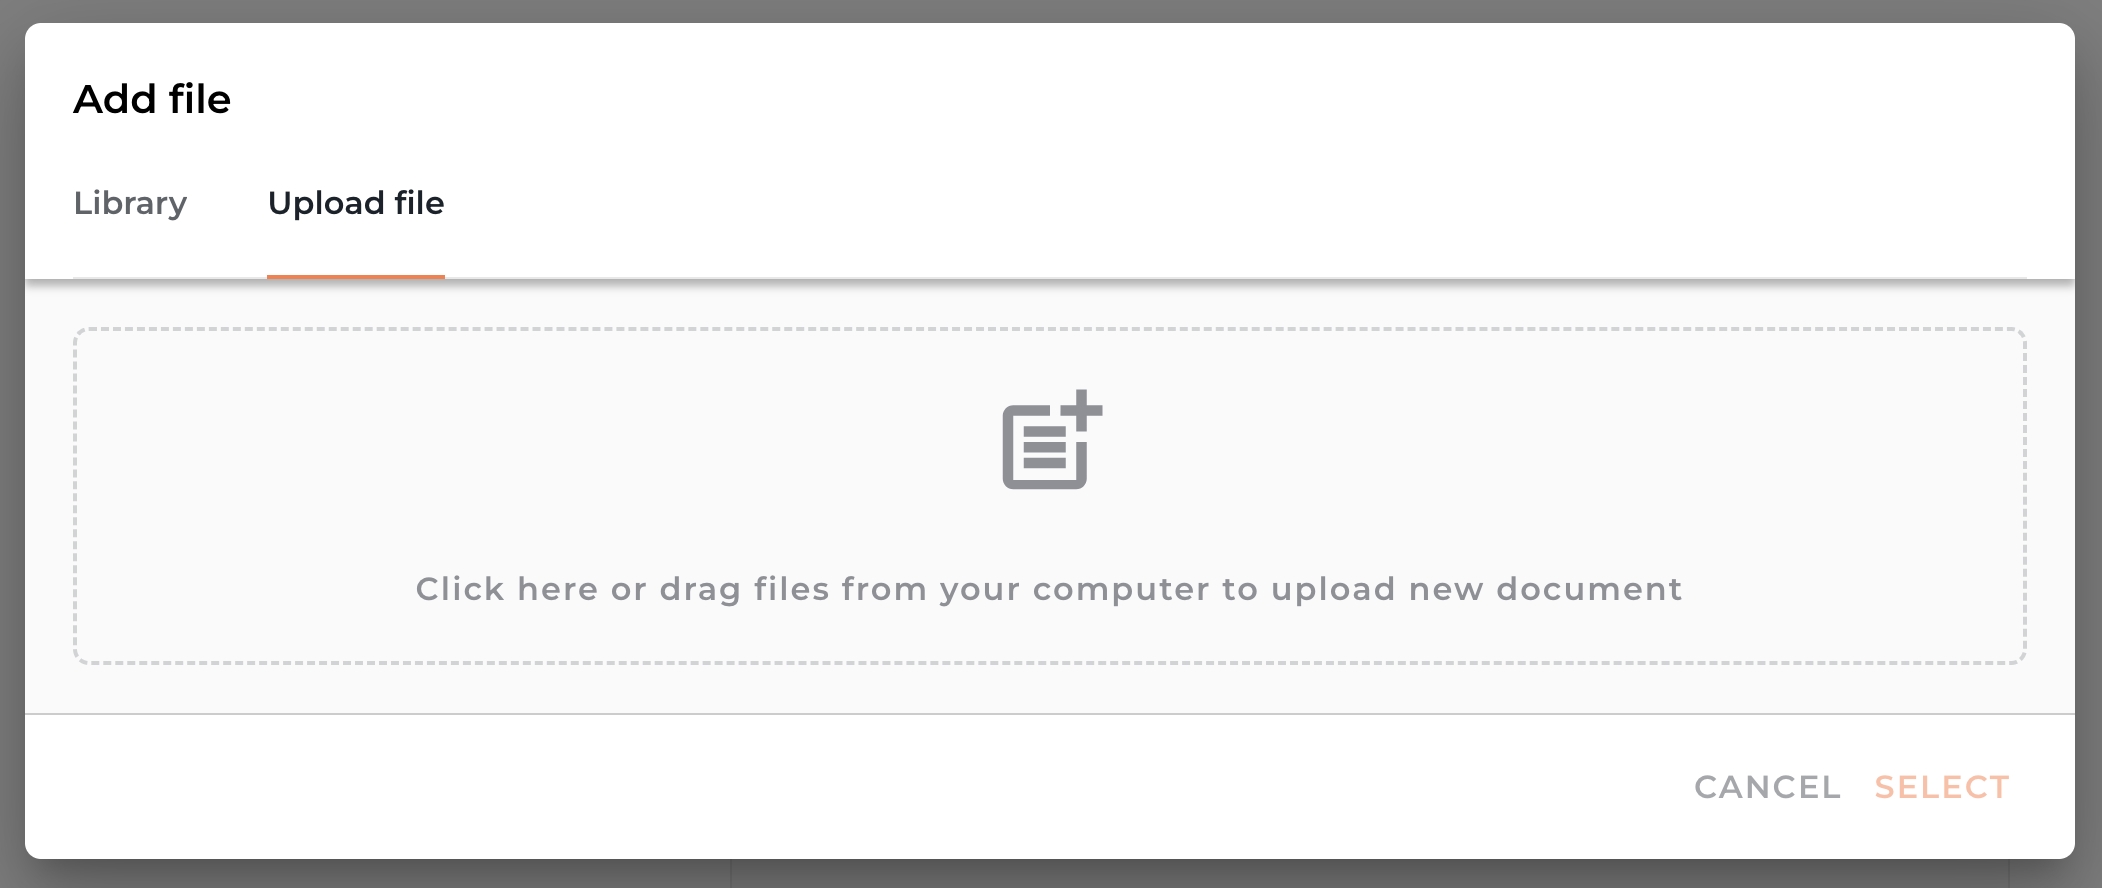
Select your logo from your Vamoos Library, or upload it from your computer, then click Select.
Once added here, your logo will automatically appear on all trips — you don’t need to upload it each time.
TOP TIP: To use a different logo for an individual trip, open that trip, go to the General section, and upload it under Overlay Logo.
How to add your branded header and footer
Go to Settings > Brand.
Scroll to Creation header and Creation footer, then click Add Image.
Choose from your Vamoos Library or upload from your computer, then click Select.
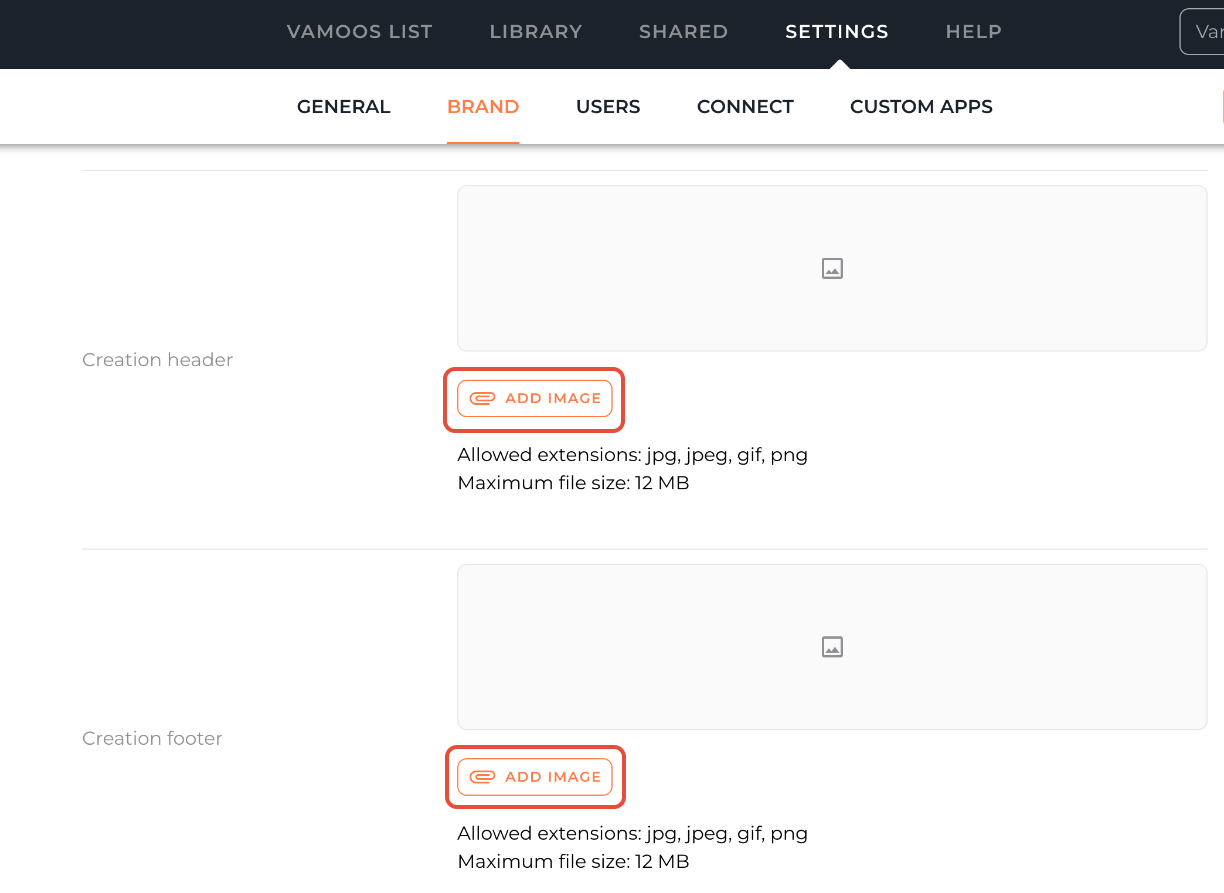
TOP TIP: We recommend using 2047 x 302 px for your header and footer dimensions.
How to set up different branding profiles
Go to Settings > Brand.
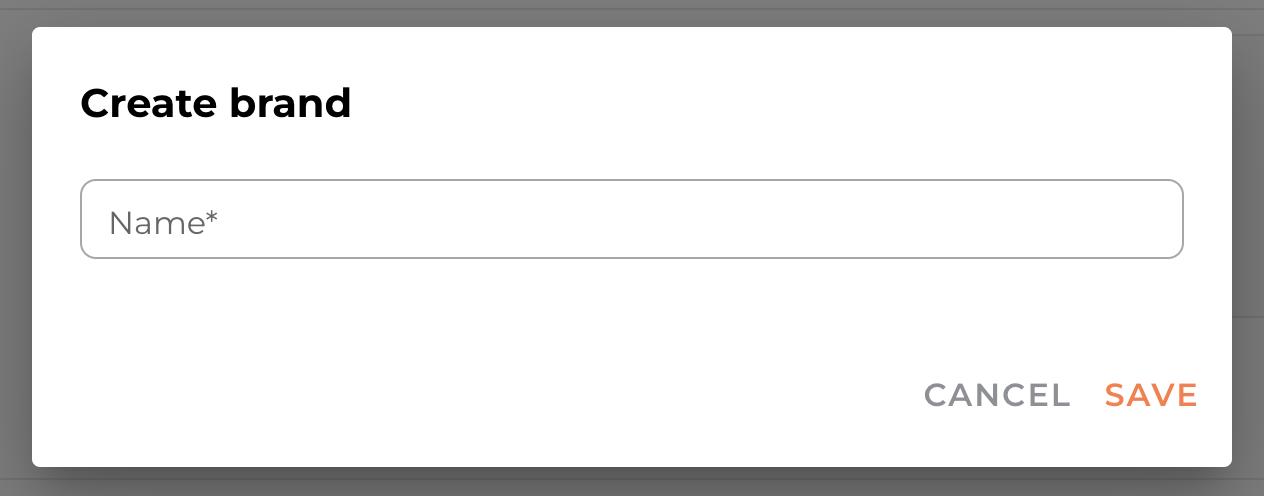
Click + CREATE BRAND to create a new profile.
Give the branding profile a name and click Save.
Upload the relevant logo, header, and footer to complete the profile.
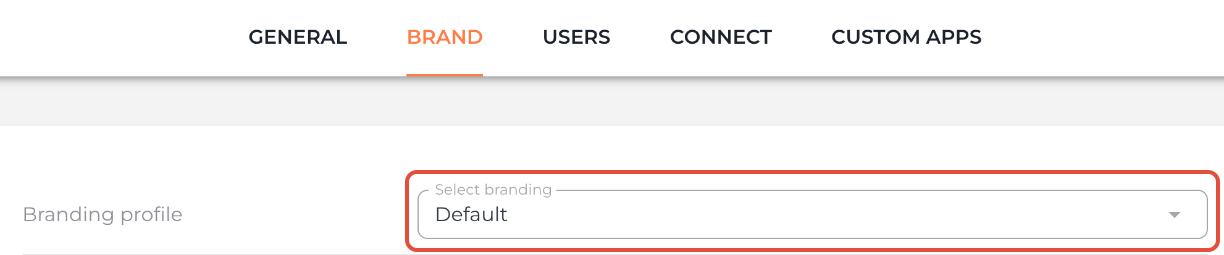
Use the Select Branding dropdown to switch between profiles.

How to delete a brand
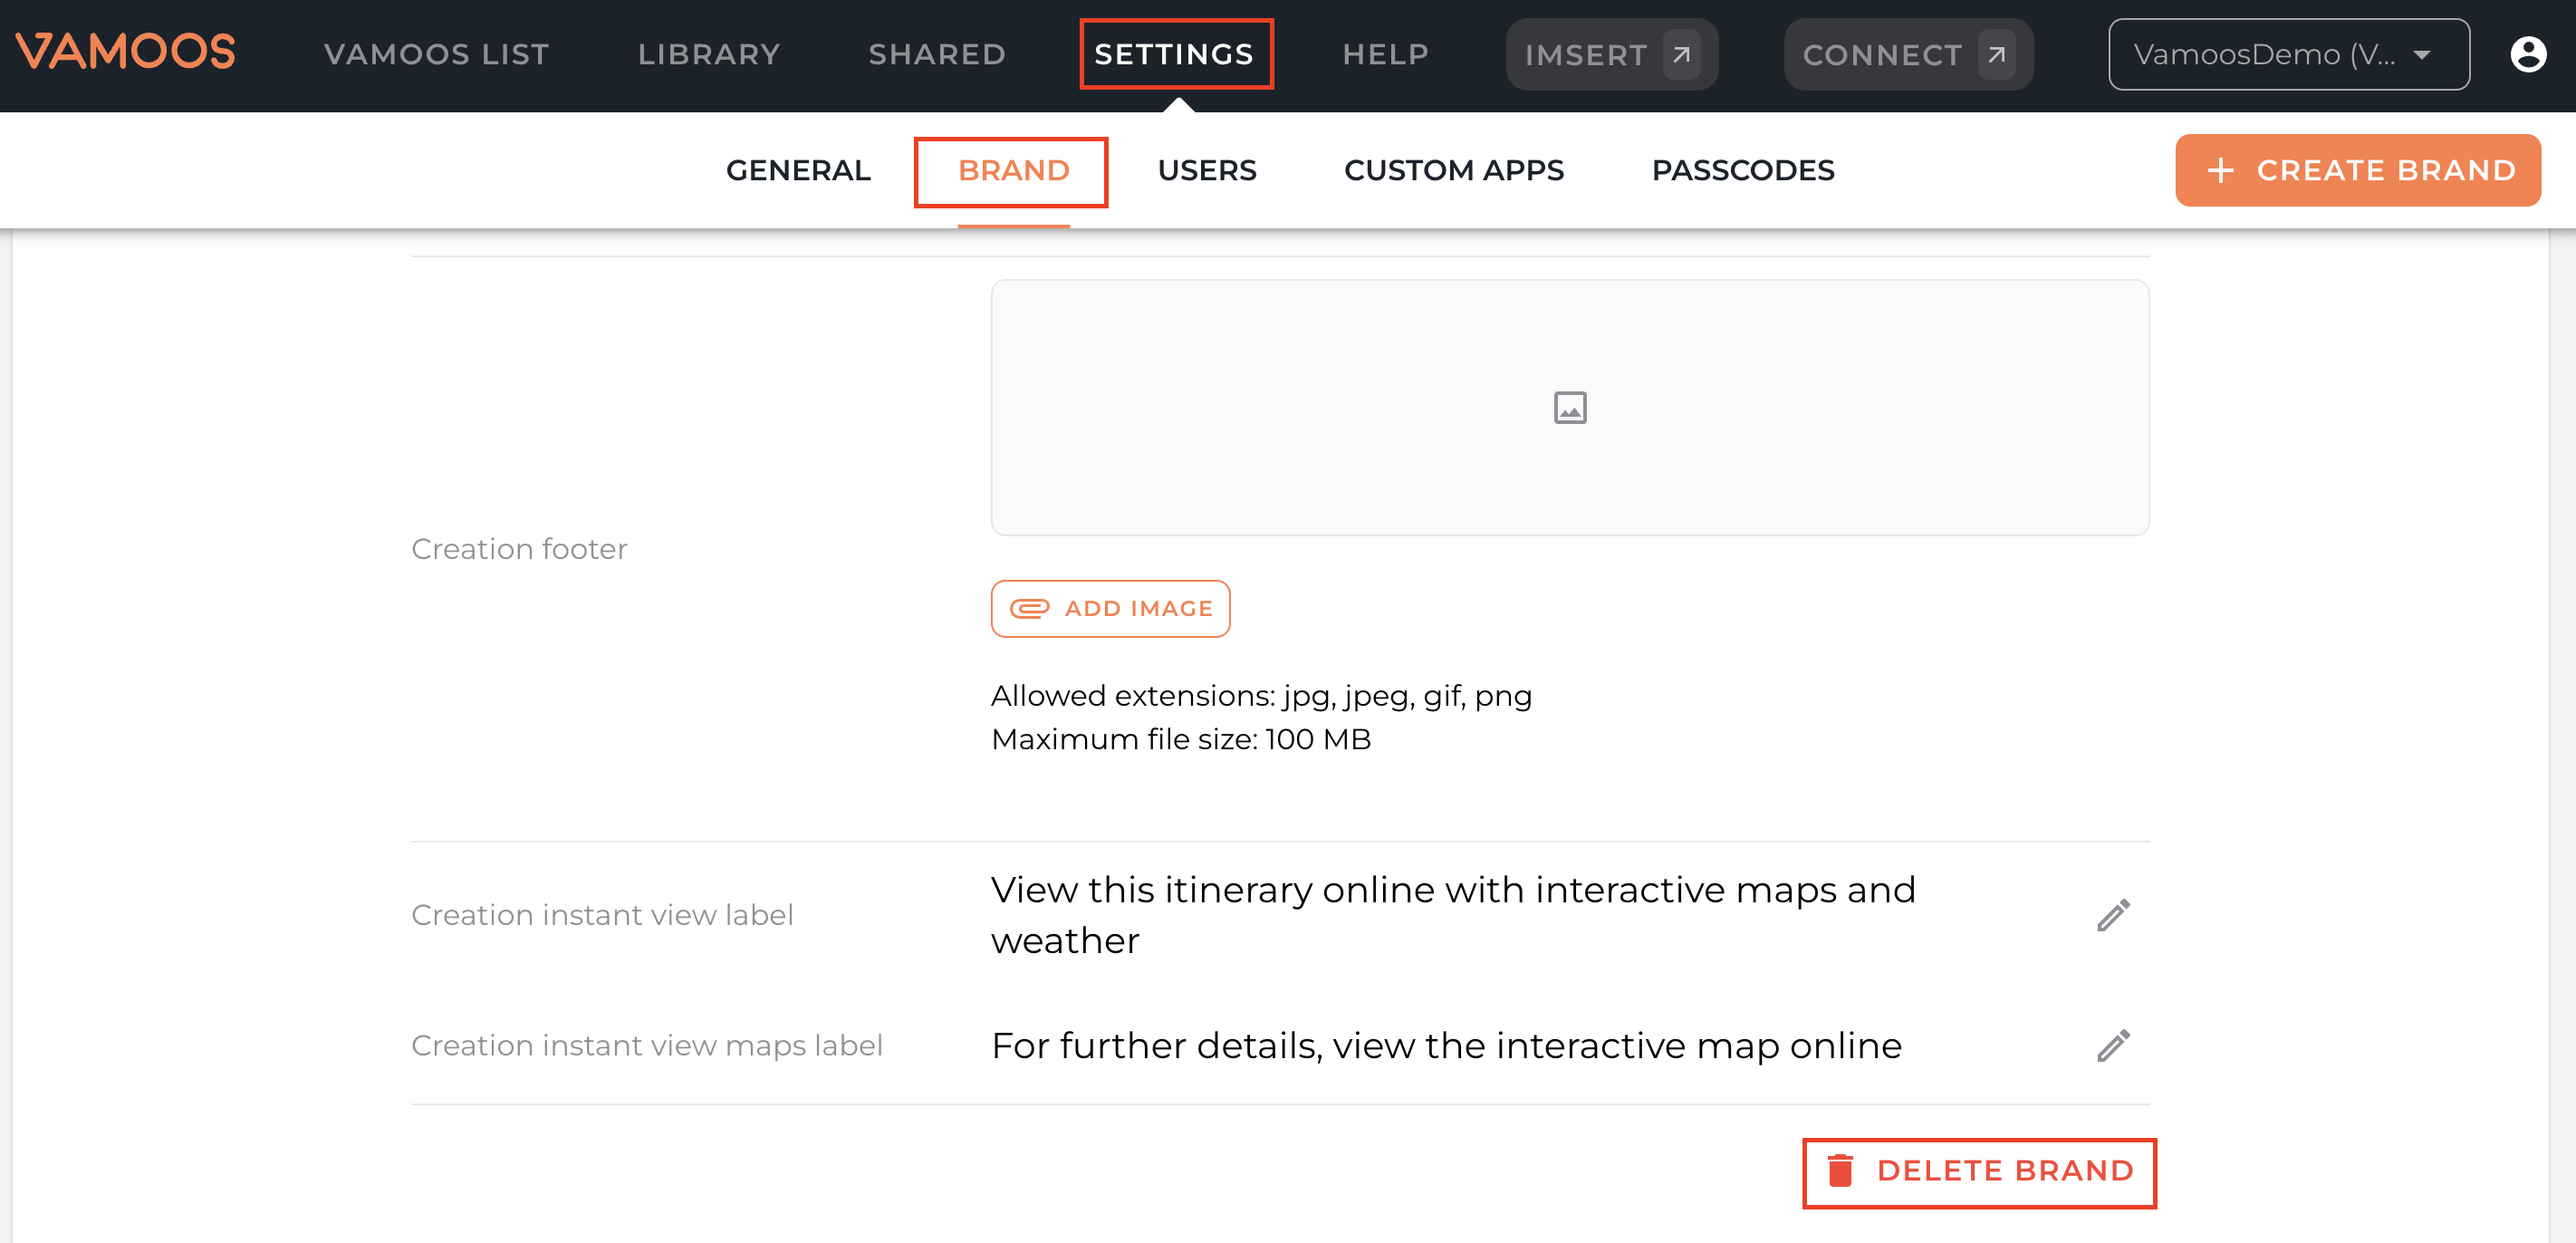
Head to Settings > Brand.
Select a brand you would like to delete and scroll all the way to the bottom.
Click Delete Brand and confirm your choice.
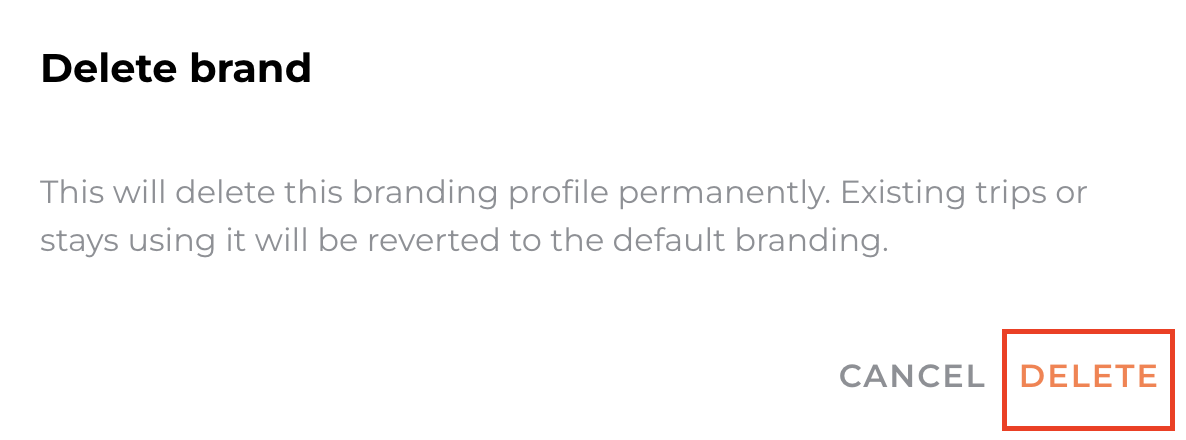
Please note: Existing trips using this brand will revert to your default brand.
How to change the brand of a trip
If you have multiple branding profiles, you can apply them per trip.
Go to your Vamoos List and open or create a trip.
In the General section, click Select Branding and choose the profile you want.
This updates the logo, header, and footer across your itinerary and PDFs.

If you have any further questions or need help with this, you can contact us at support@vamoos.com.