
Studio Applications: create and embed bespoke applications
✅ For Travel Companies
A way to create and embed your own bespoke applications or content into the Vamoos app without needing IOS and Android developers, using web building tech. From loyalty programs to ski maps, from airport extras to upselling tools - if you can build it, you can add it.
In this article:
Setting Up Studio Applications In Your Library
Upload Applications Across Your Trips
Upload Applications Within A Trip
Setting Up Studio Applications In Your Library
Step 1: Download The Application
Build your application or purchase one from our Studio AppStore.
Step 2: Applications Folder
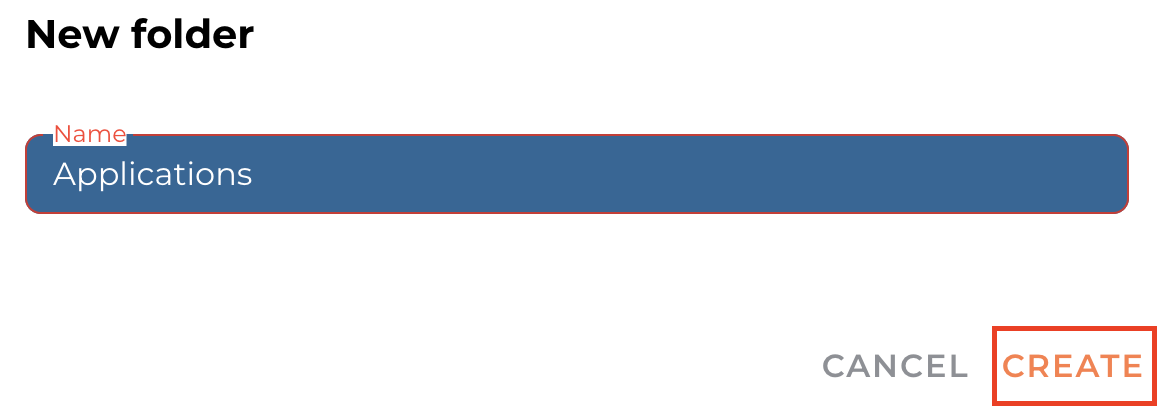
Head to the Library at the top of the page and create a new folder titled ‘Applications’ by pressing FOLDER and CREATE.
Please note: you must create an Applications folder for it to be available to upload to trips.

Step 3: Upload The Application
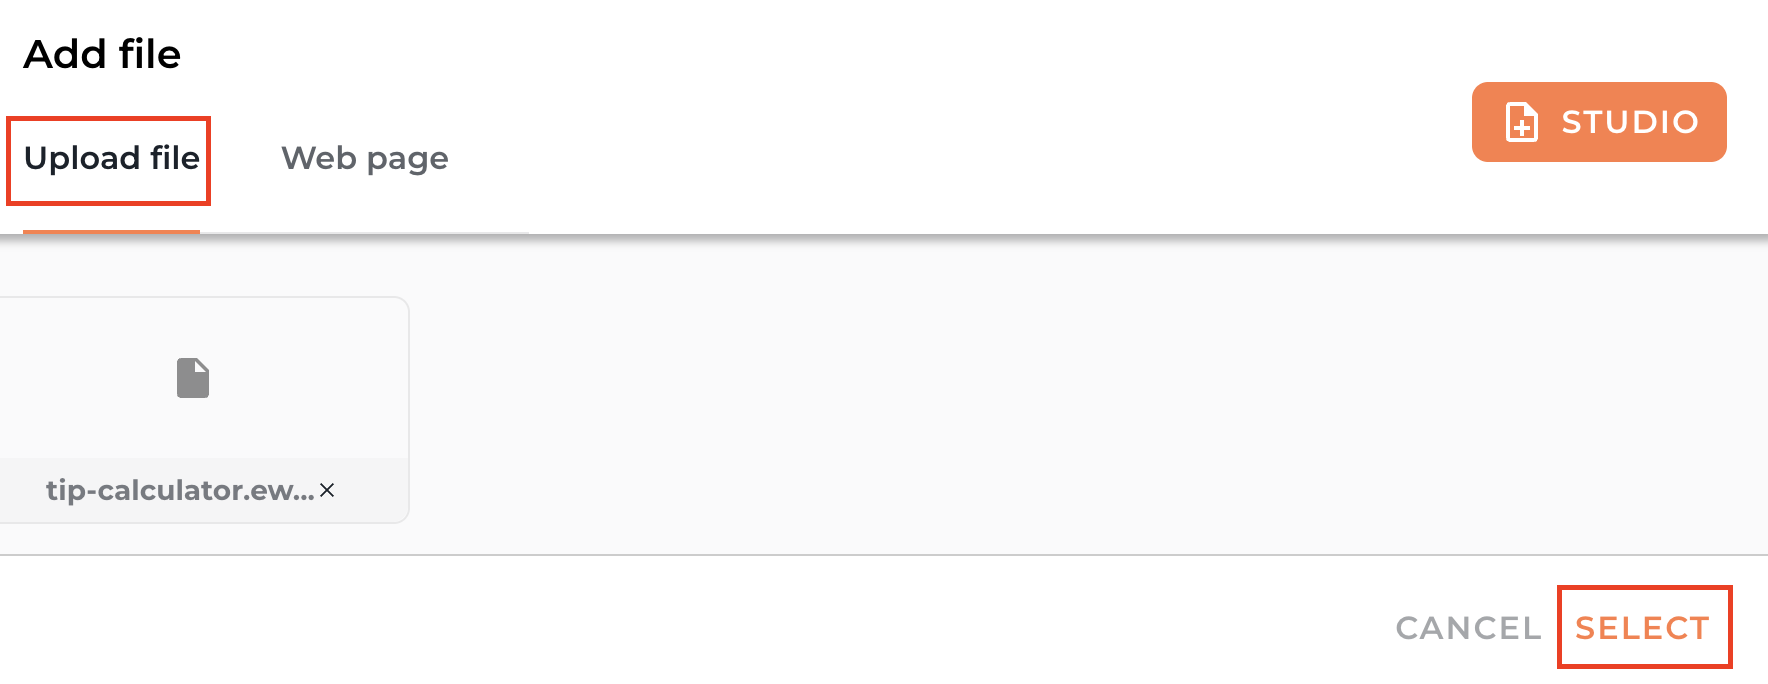
Upload the application from your device as a file to the Folder and click SELECT.

Step 4: Application Settings
Choose if the application settings should be set to 'Trusted' or ‘Not Trusted’ and provide the necessary application information.

Trusted: Has full access to itinerary data and user information.
Should be used only for applications from verified, reliable sources that you own, control, or explicitly trust.Not trusted: Does not have access to itinerary data or user information. Intended for external or unknown sources where sensitive data must remain protected.
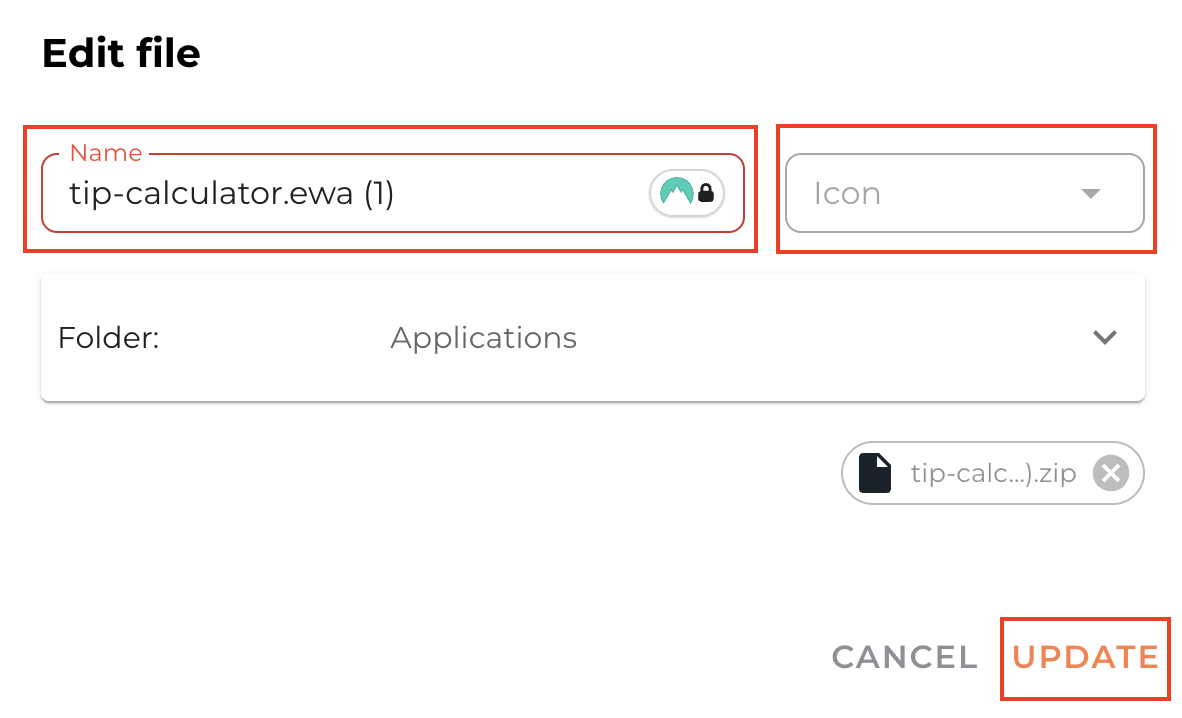
Step 5: Edit The File
Press the edit icon to rename the application, choose the Icon from the list and save changes by clicking UPDATE.
Upload An Application Across Your Trips
In order to use the application across all Vamoos Trips, you must:
Step 1: Add the application to the Trip Menu in your settings
Head to Settings at the top of the page and click General.

Step 3: Trip Menu
Scroll down to the Trip Menu section and select Studio.

Step 4: Add the application
Click on the +ADD button and select the desired application to add from the list.
The order of your icons will apply to all your trips that have the 'Studio' settings selected (You can do this in the General settings of your trip. See our user guide for more information)


Top tip: You can also reorder or remove the homescreen icons here by dragging and dropping. See here for more information
Upload Applications Within A Trip
Step 1: Vamoos Trip
Head to Vamoos List at the top of the page and choose an existing trip from the Vamoos List or Create Trip.
Step 2: Documents
Go to the Documents on the left-hand side.
Here, you can either upload an Application under your existing Travel/Destination documents or upload it under a new Document Section to have it display as its own homescreen icon.
Option 1: Upload an application within your existing Documents section/list
Step 1: Upload the Application
Select your existing Travel Documents or Destination Documents and click the +ADD File button.

Step 2: Title the document
In the ‘Document Title’ field, put the desired title for your clients to see.
Step 3: Upload the file
Click on the ADD button, choose the file from the Application folder in your Library and click SELECT.


Your Application will then be visible within the chosen Documents section on the app.
Option 2: Upload an application to a new section to display as a standalone homescreen icon
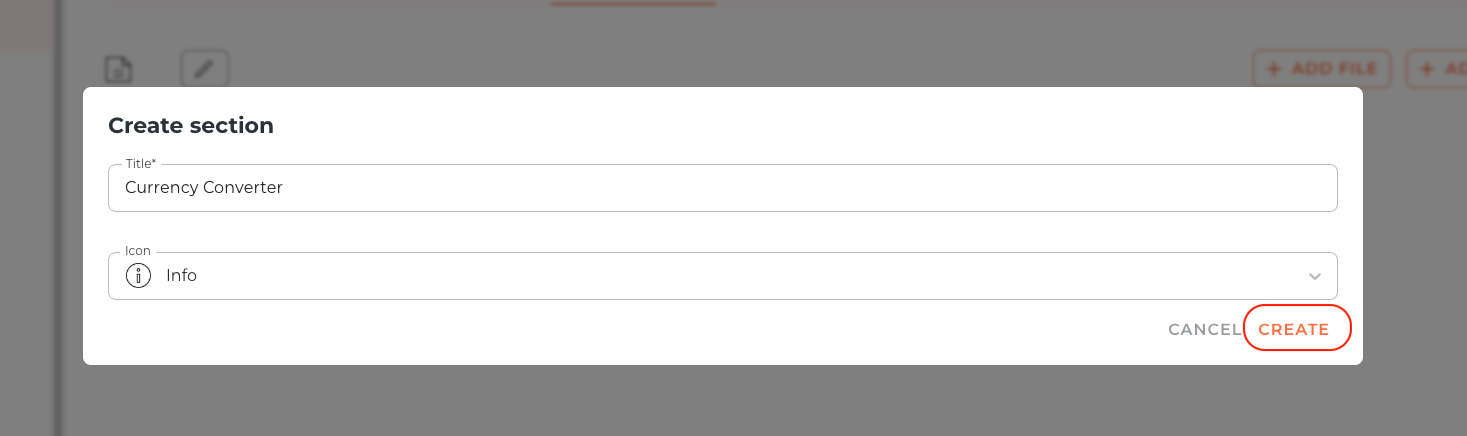
Step 1: Create a new section
Click the + button to create a new section
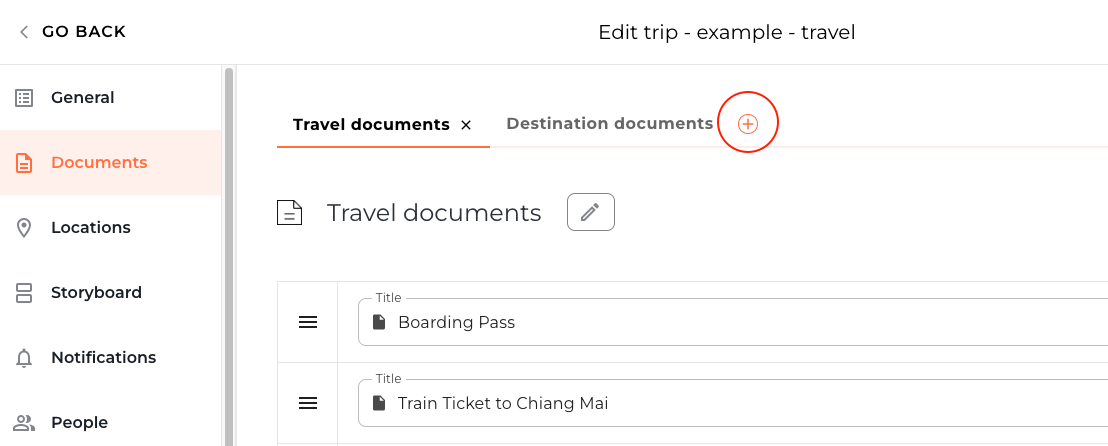
Enter the name of the section in the Title box and choose an icon. Press Create to add the new section. The title is the name that will appear as an icon on your homescreen.
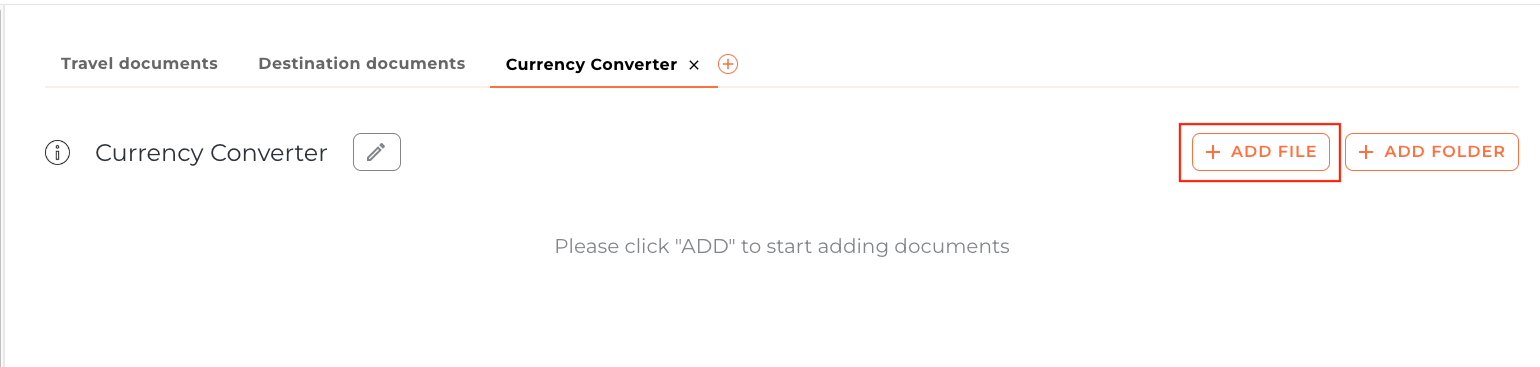
Step 2: Upload the file
Press the + ADD FILE button to upload your Application file
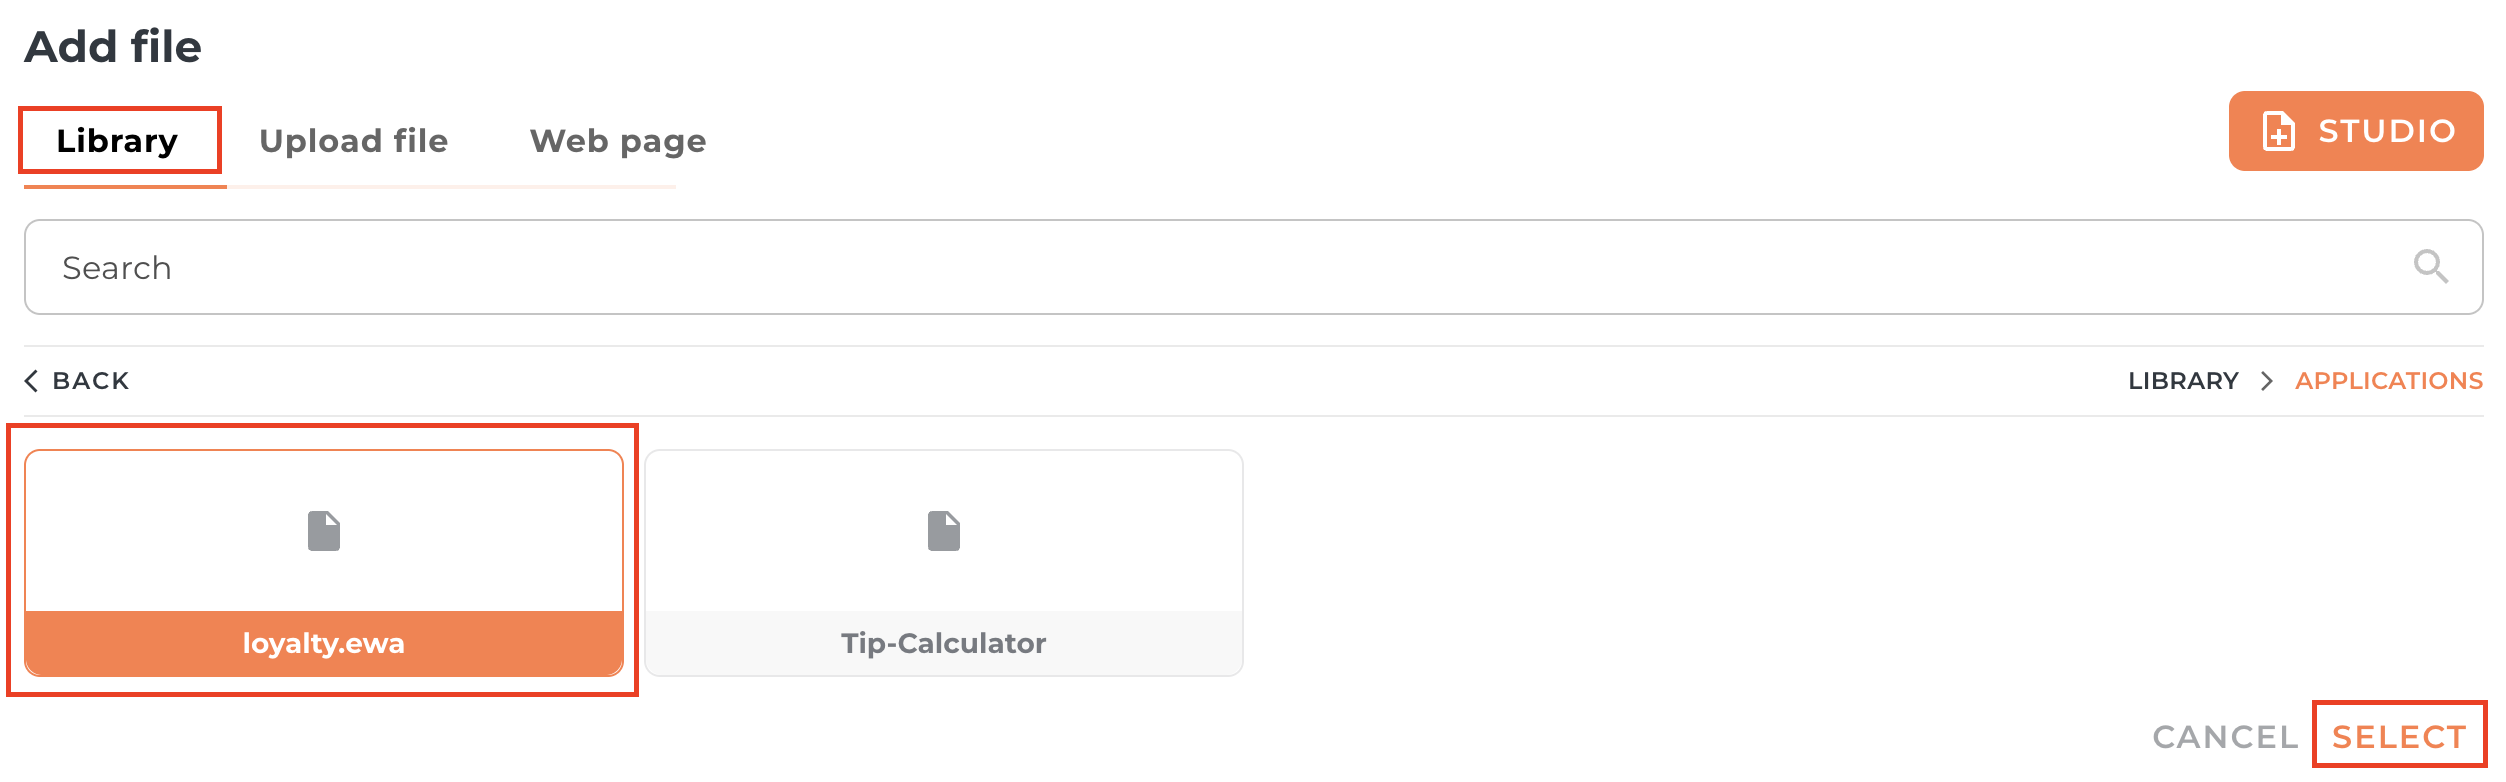
Click on the ADD button, choose the file from your Application folder in the Library and click SELECT.

Choose if the application settings should be set to 'Trusted' or ‘Not Trusted’ and provide the necessary application information.

Trusted: Has full access to itinerary data and user information.
Should be used only for applications from verified, reliable sources that you own, control, or explicitly trust.Not trusted: Does not have access to itinerary data or user information. Intended for external or unknown sources where sensitive data must remain protected.
Your new section will automatically be added as a new homescreen icon and will be available to view in the app
If you have any further questions or need help with this, contact us at support@vamoos.com.