
General: create your first trip
✅ For travel companies
When you create a trip, start by filling out the General Section. Here you can add key information & fill out the homescreen of the app.
In this article:
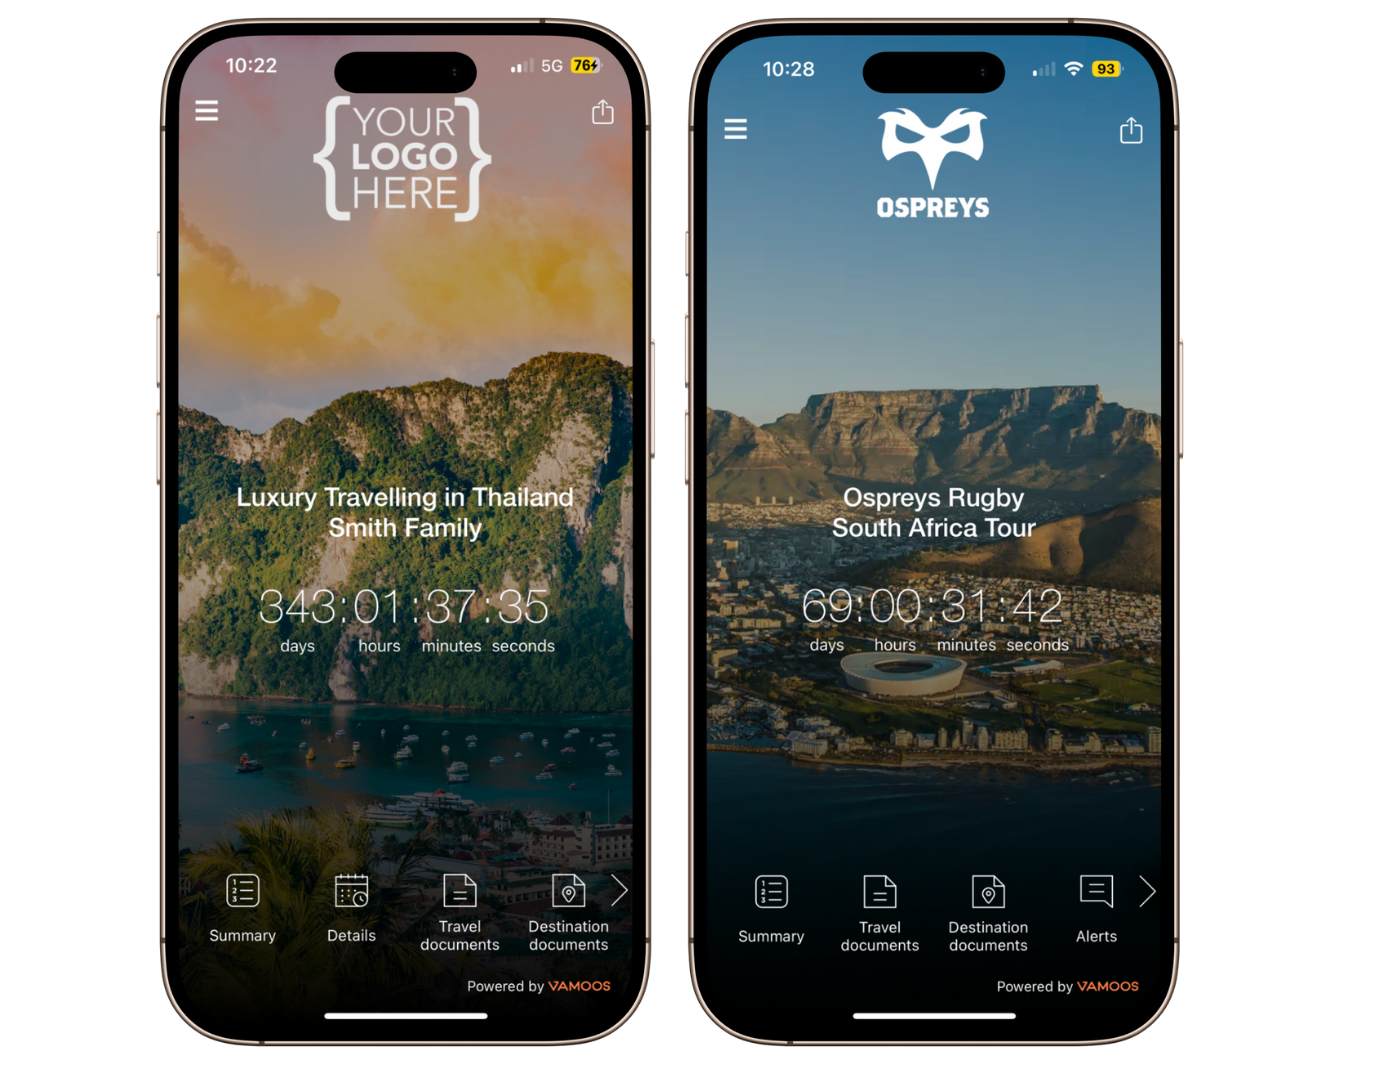
Here are some examples of how the homescreen looks on the app:
Creating your first trip
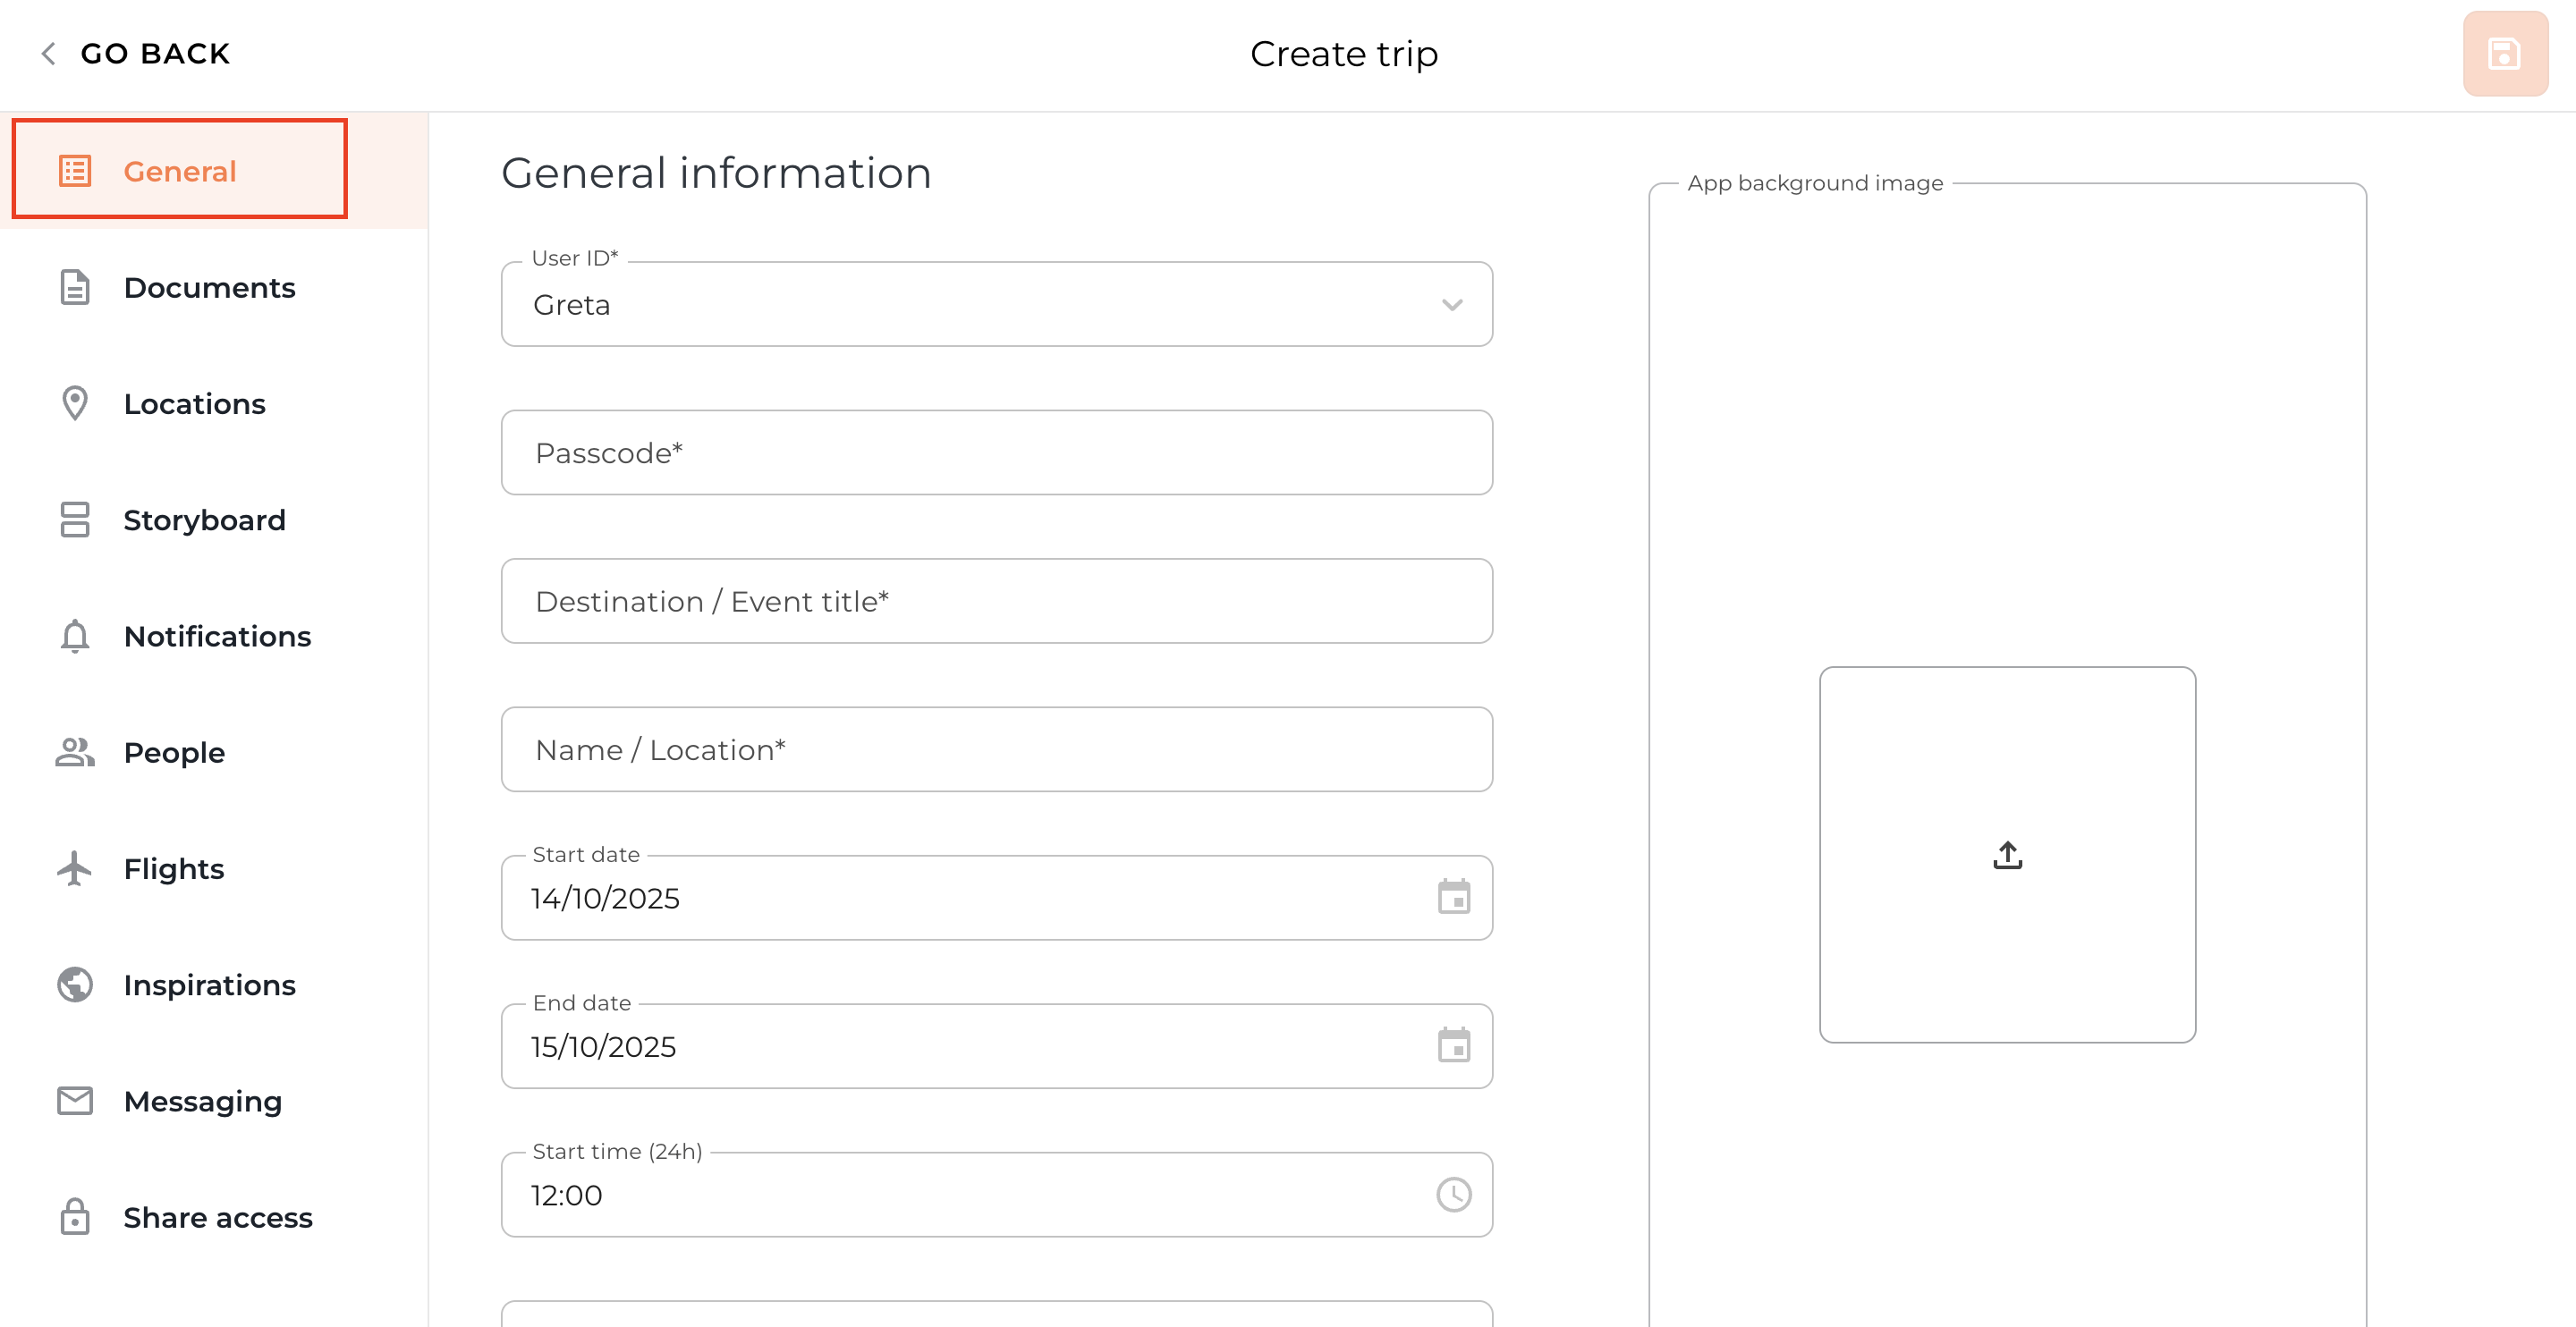
Go to Vamoos List in the top menu bar, then select Vamoos Trips and press the orange Create Trip button.
Then you will see a menu down the left-hand side. Please select General at the top.

User ID & Passcode
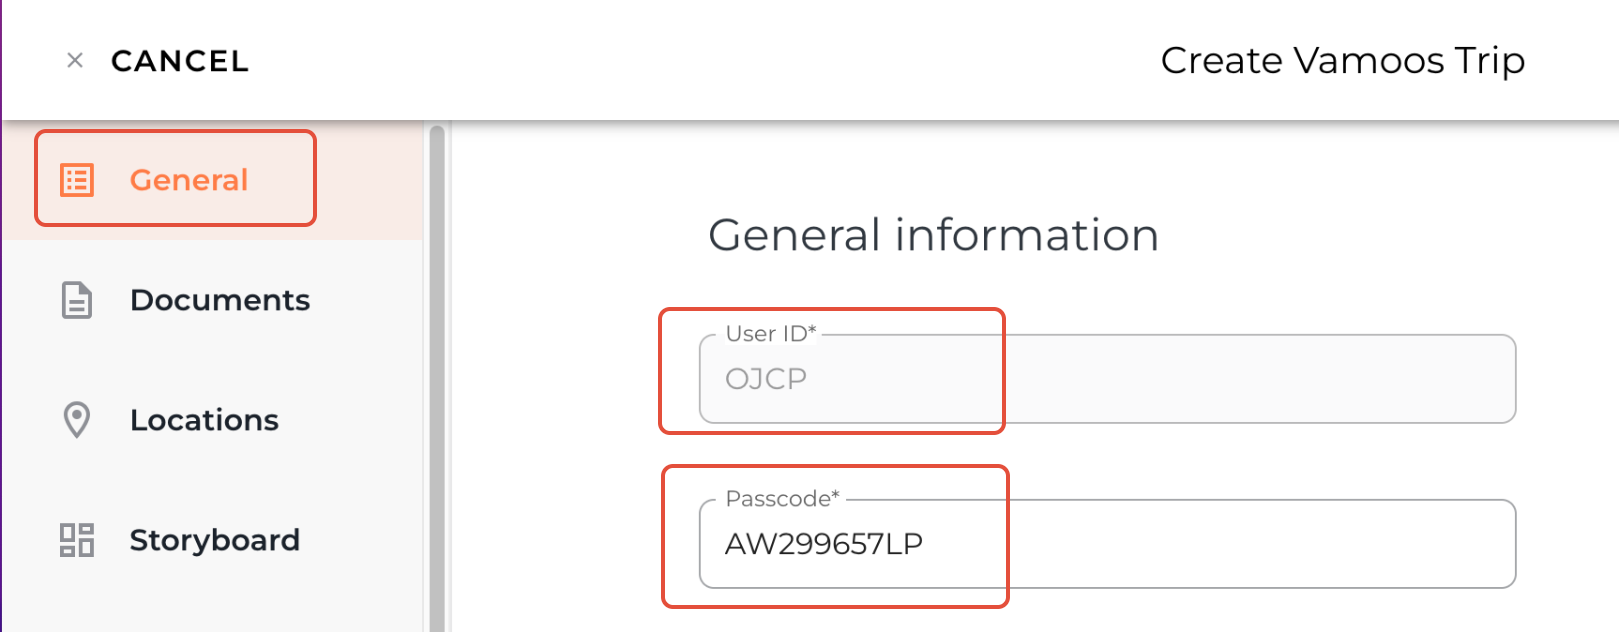
Fill out the User ID & Passcode, these are the two pieces of information your customers will use to log in to their travel information in the app.
User ID – will stay the same for all your customers (typically your company name or acronym).
Passcode – unique for each booking/trip; avoid consecutive or easy-to-guess codes.
TOP TIP: combine passenger reference number and initials for a personalised and extra secure Passcode.
Homescreen text
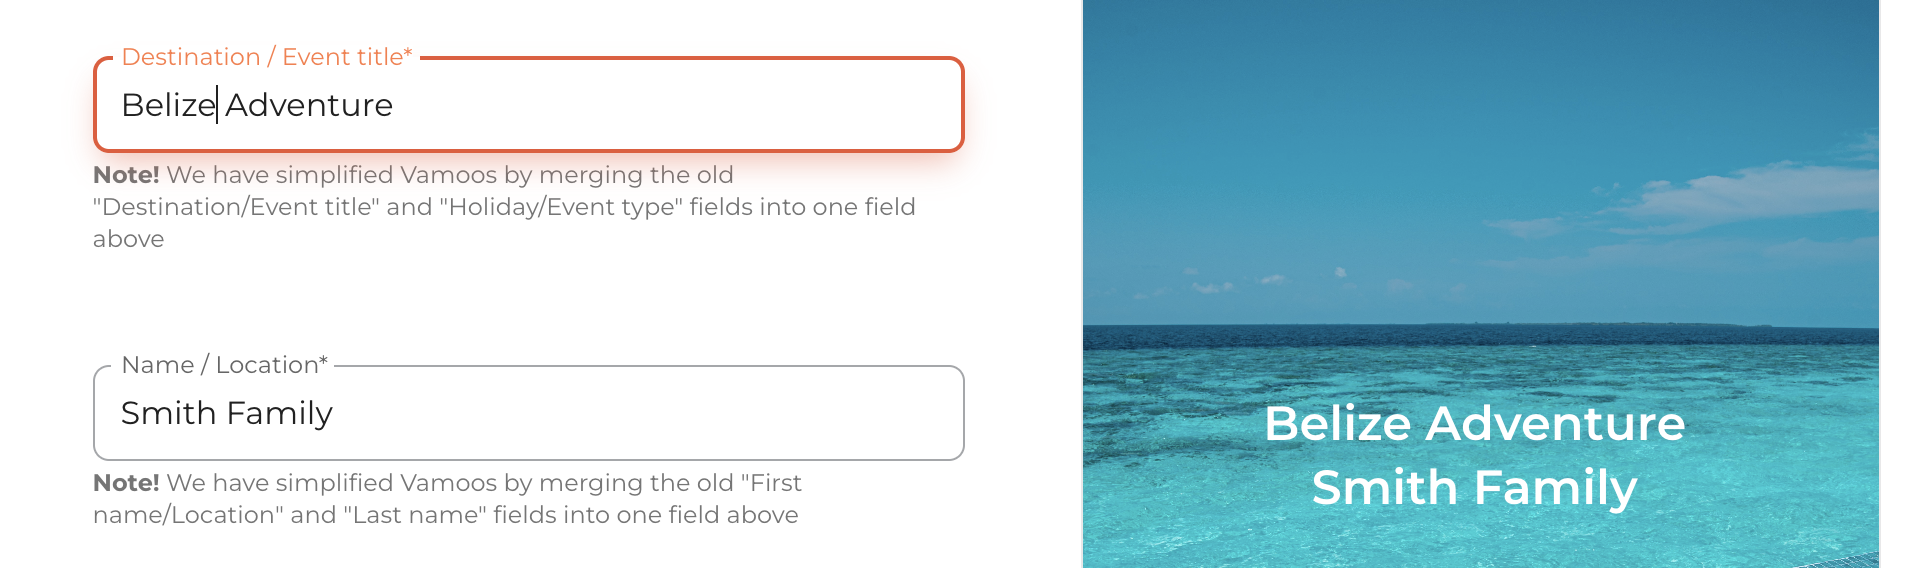
Destination/Event title & Name/Location correspond to the text shown on the home screen of the app.
Preview your text on the right-hand side of the screen.
TOP TIP: Don’t add extra spaces — text will auto-centre on all devices.
Dates, start time and time zone (countdown timer)
Input the start date & end date of the trip.
Select the start time and traveller’s time zone - these are what make the countdown timer on the home screen work.
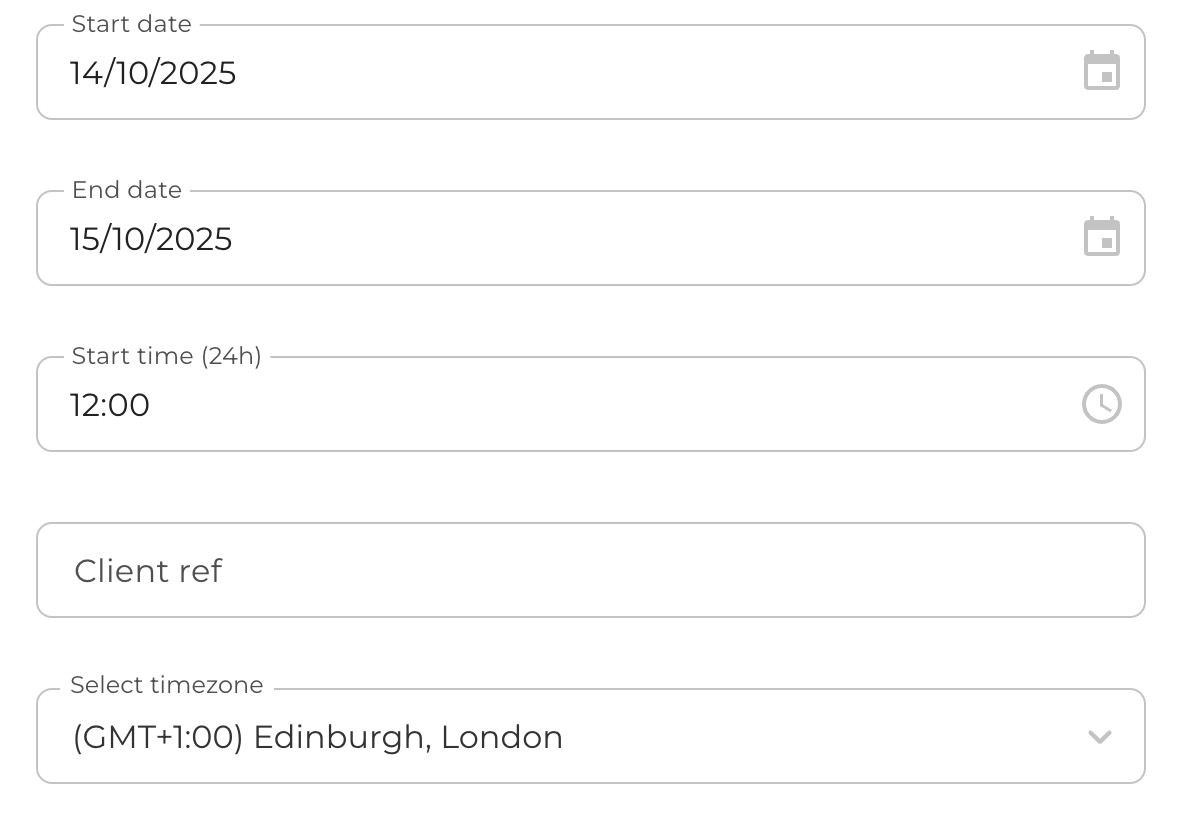
TOP TIP: the countdown timer is one of the most popular features. It is very accurate and counts down to the second, think about exactly what time you'd like to be the start of the trip.
Client ref
Internal reference to help search for trips in your Vamoos List. Won’t show in the app.
Could be staff name, booking reference, etc.

Enable posts & enable the list
Enable Posts: Turns on the Posts section where clients can share trip photos and later create a printed Photobook.
Enable The List: Displays Points of Interest in list view for easy searching.

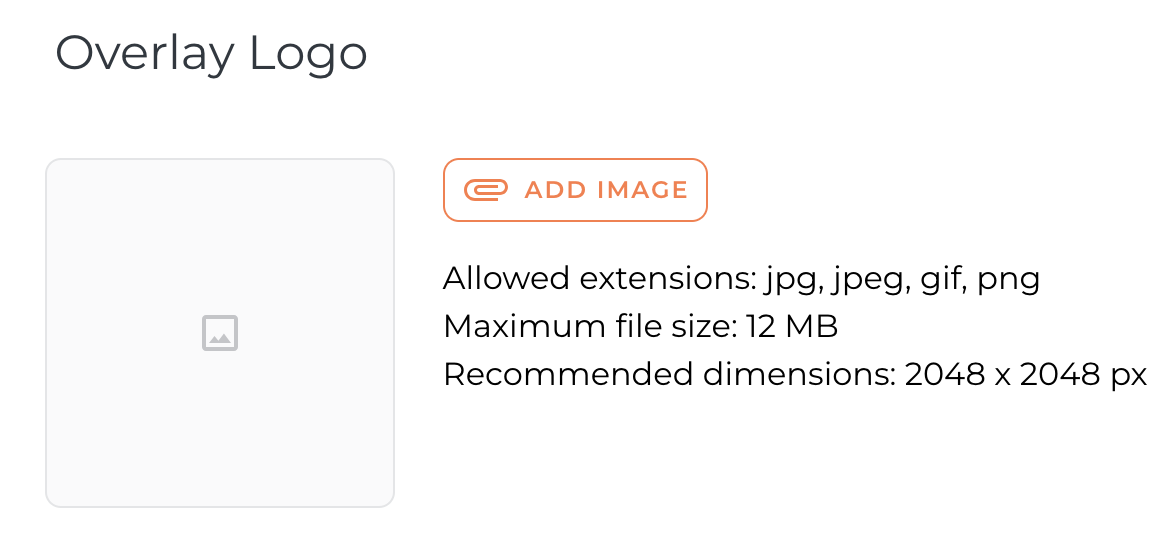
Overlay logo
Upload a different logo for an individual trip.
Must be JPG, JPEG, or PNG format.
If a logo is already set in Settings > Brand > Logo, it will appear automatically.
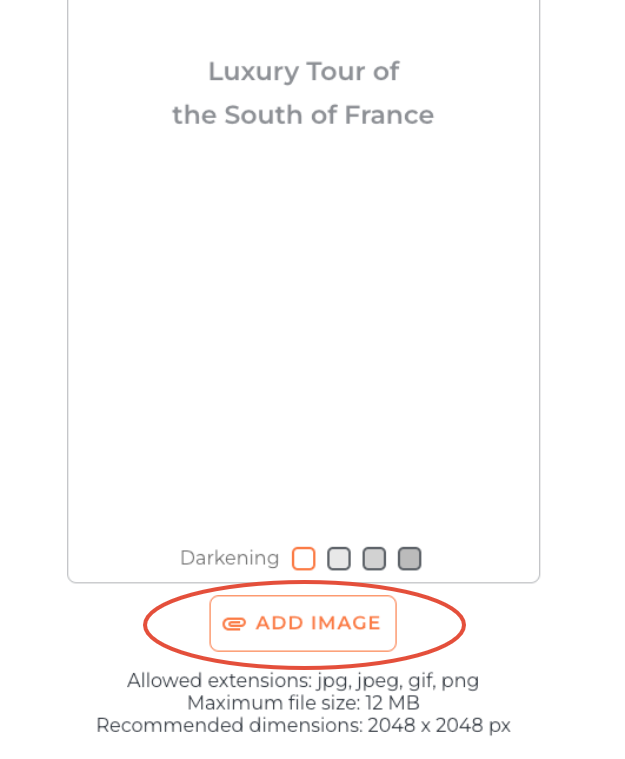
Background image
Press Add Image to choose your home screen image.
Upload from your computer or select from your Vamoos Library.
Images must be JPG, JPEG, or PNG. Recommended size: 2048 x 2048 px. Read our tips on choosing the perfect background image.
Optional dark overlay to make logo/text stand out: Clear, 10%, 20%, or 30% black overlay.
TOP TIP: Remember to press the orange SAVE button after each section.
If you have any further questions or need help with this, contact us at support@vamoos.com.