
Getting started with Vamoos
✅ For travel companies
In this guide, you'll find a summary of every step you need to get up and running with Vamoos.
In this article:
Welcome to Vamoos!
Thank you for joining Vamoos, we're excited to have you on board! This article will tell you everything you need to know about getting set up with us.
For new customers - don't forget to book your training session with the Customer Success team. We can take you through all the features for creating your trips and give you best-practice advice tailored to your company. Please email support@vamoos.com to get in touch!
Create an account and add your colleagues
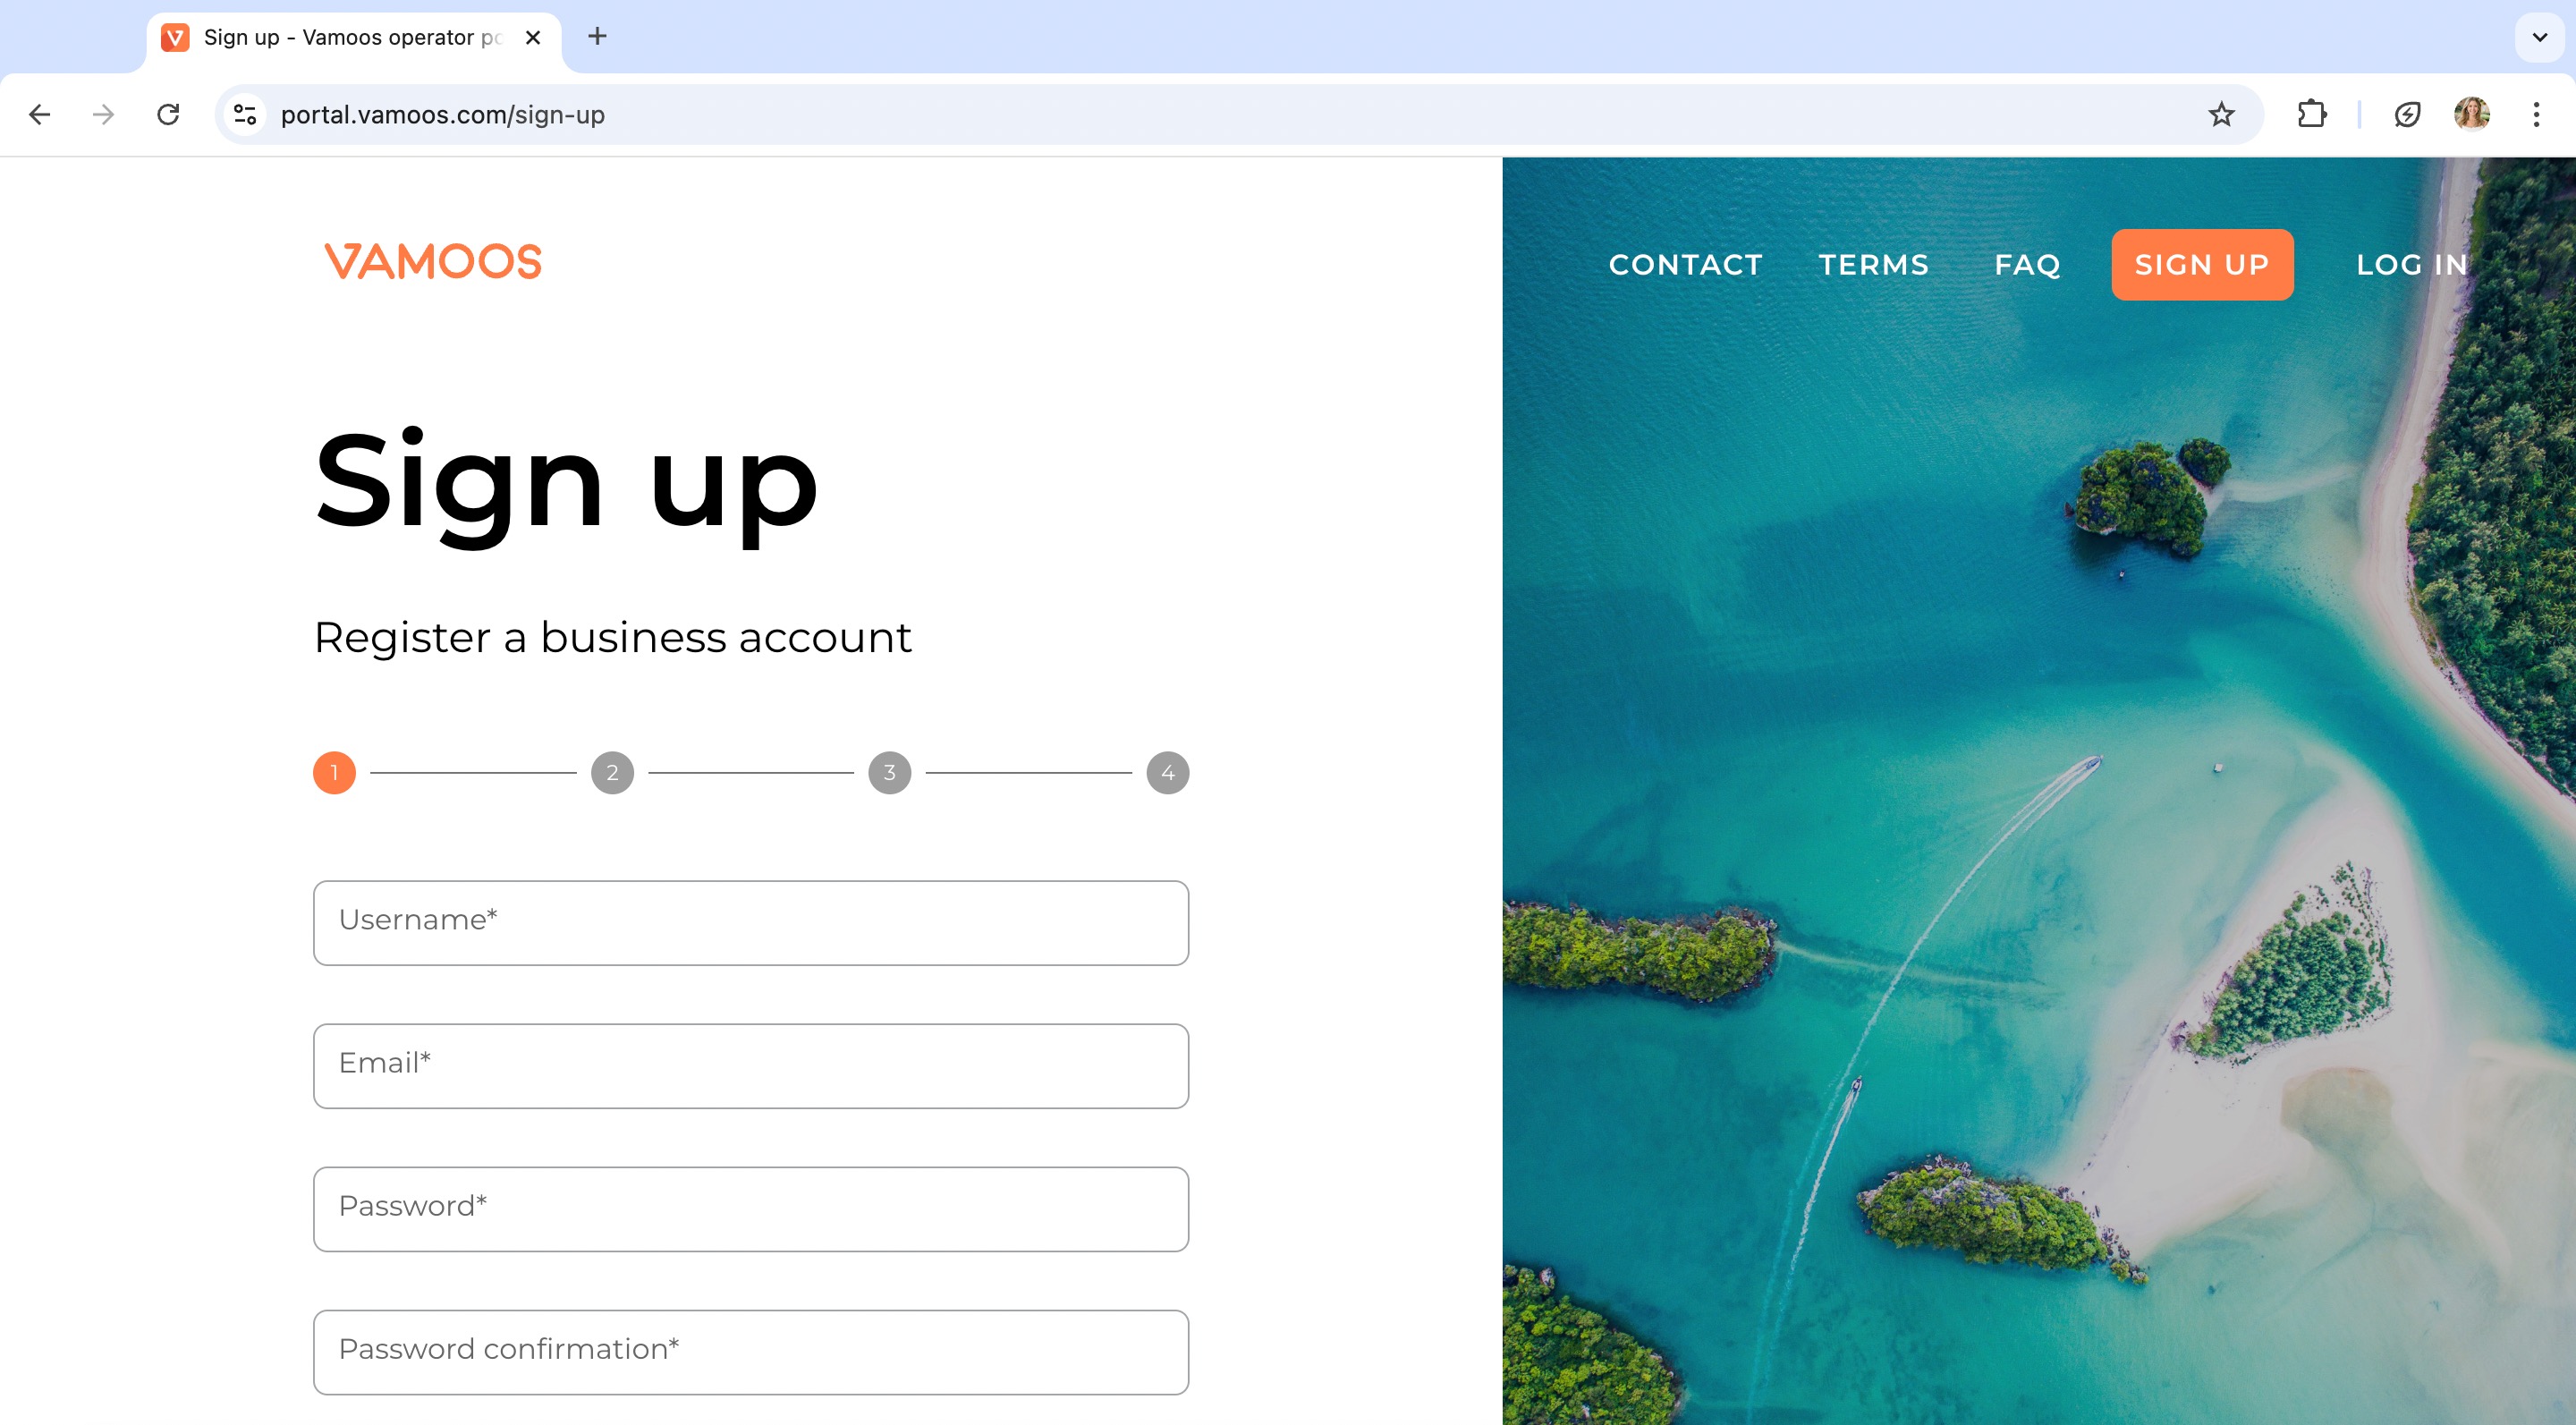
Step 1 - To begin, you need to create a business account for your company in our portal! For full steps on registering, please see our guide on signing up.
Step 2 - Don’t work alone - invite your colleagues! To register, sign up as a 'New user for an existing organisation'. The user who created the business account will then need to add the additional users to the account. See this guide for steps.
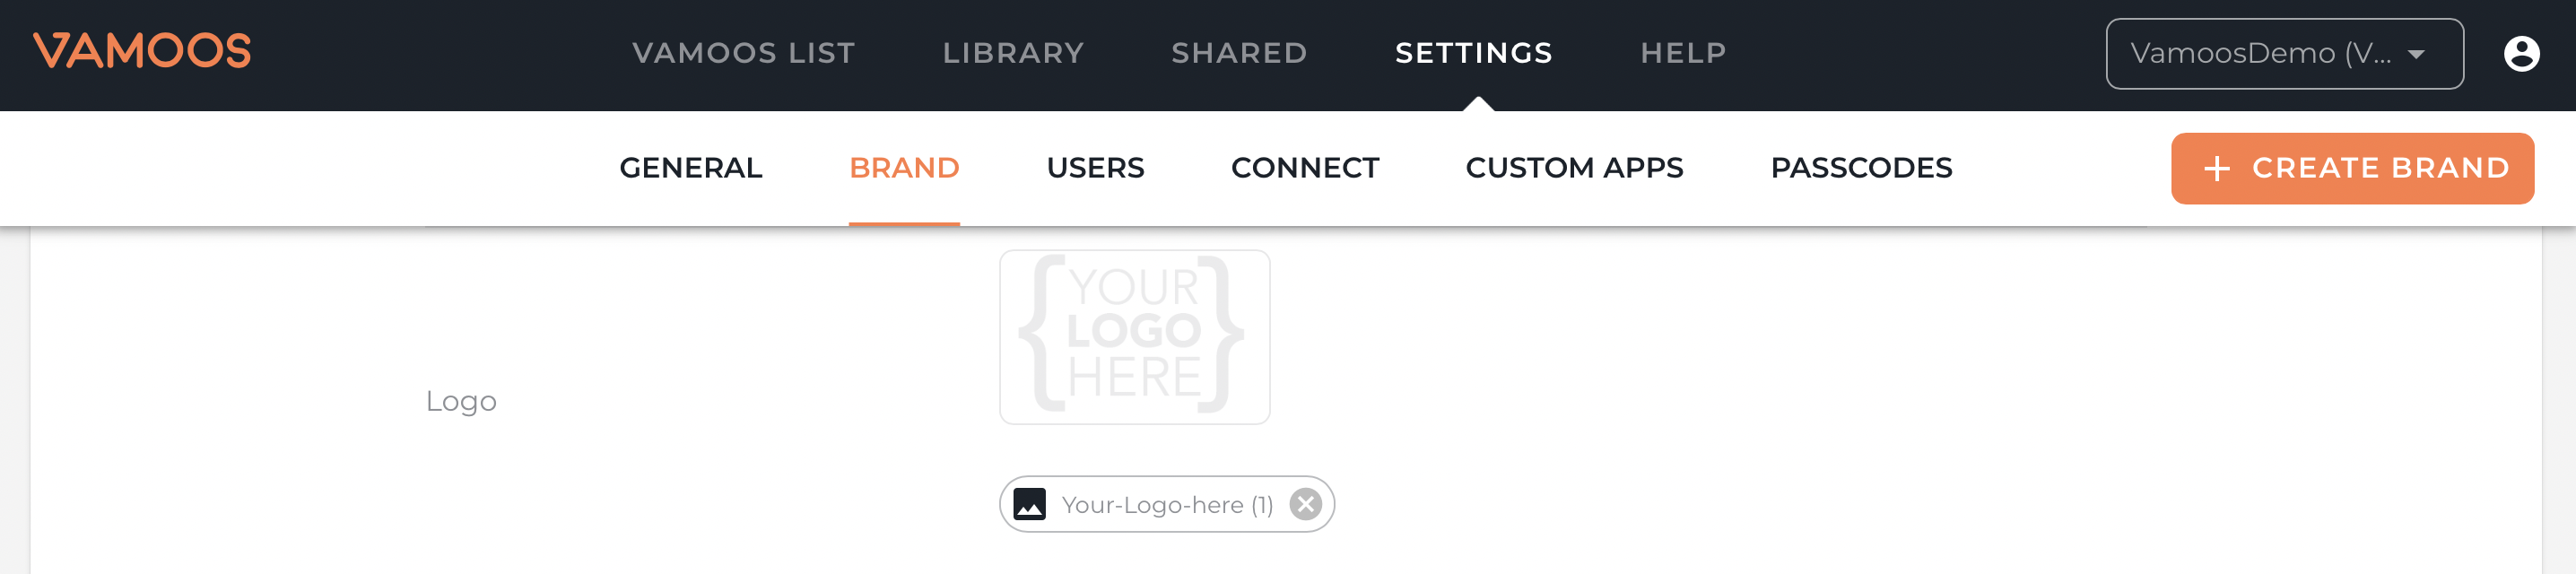
Add your logo
Step 3 - Next, you will need to add your logo in Settings > Brand > Logo so it shows front and centre for all trips! Full steps on creating your brand are here.
Begin creating your first trip!
Step 4 - Now you’re ready to create your first trip - way to go! Begin by adding our core features.
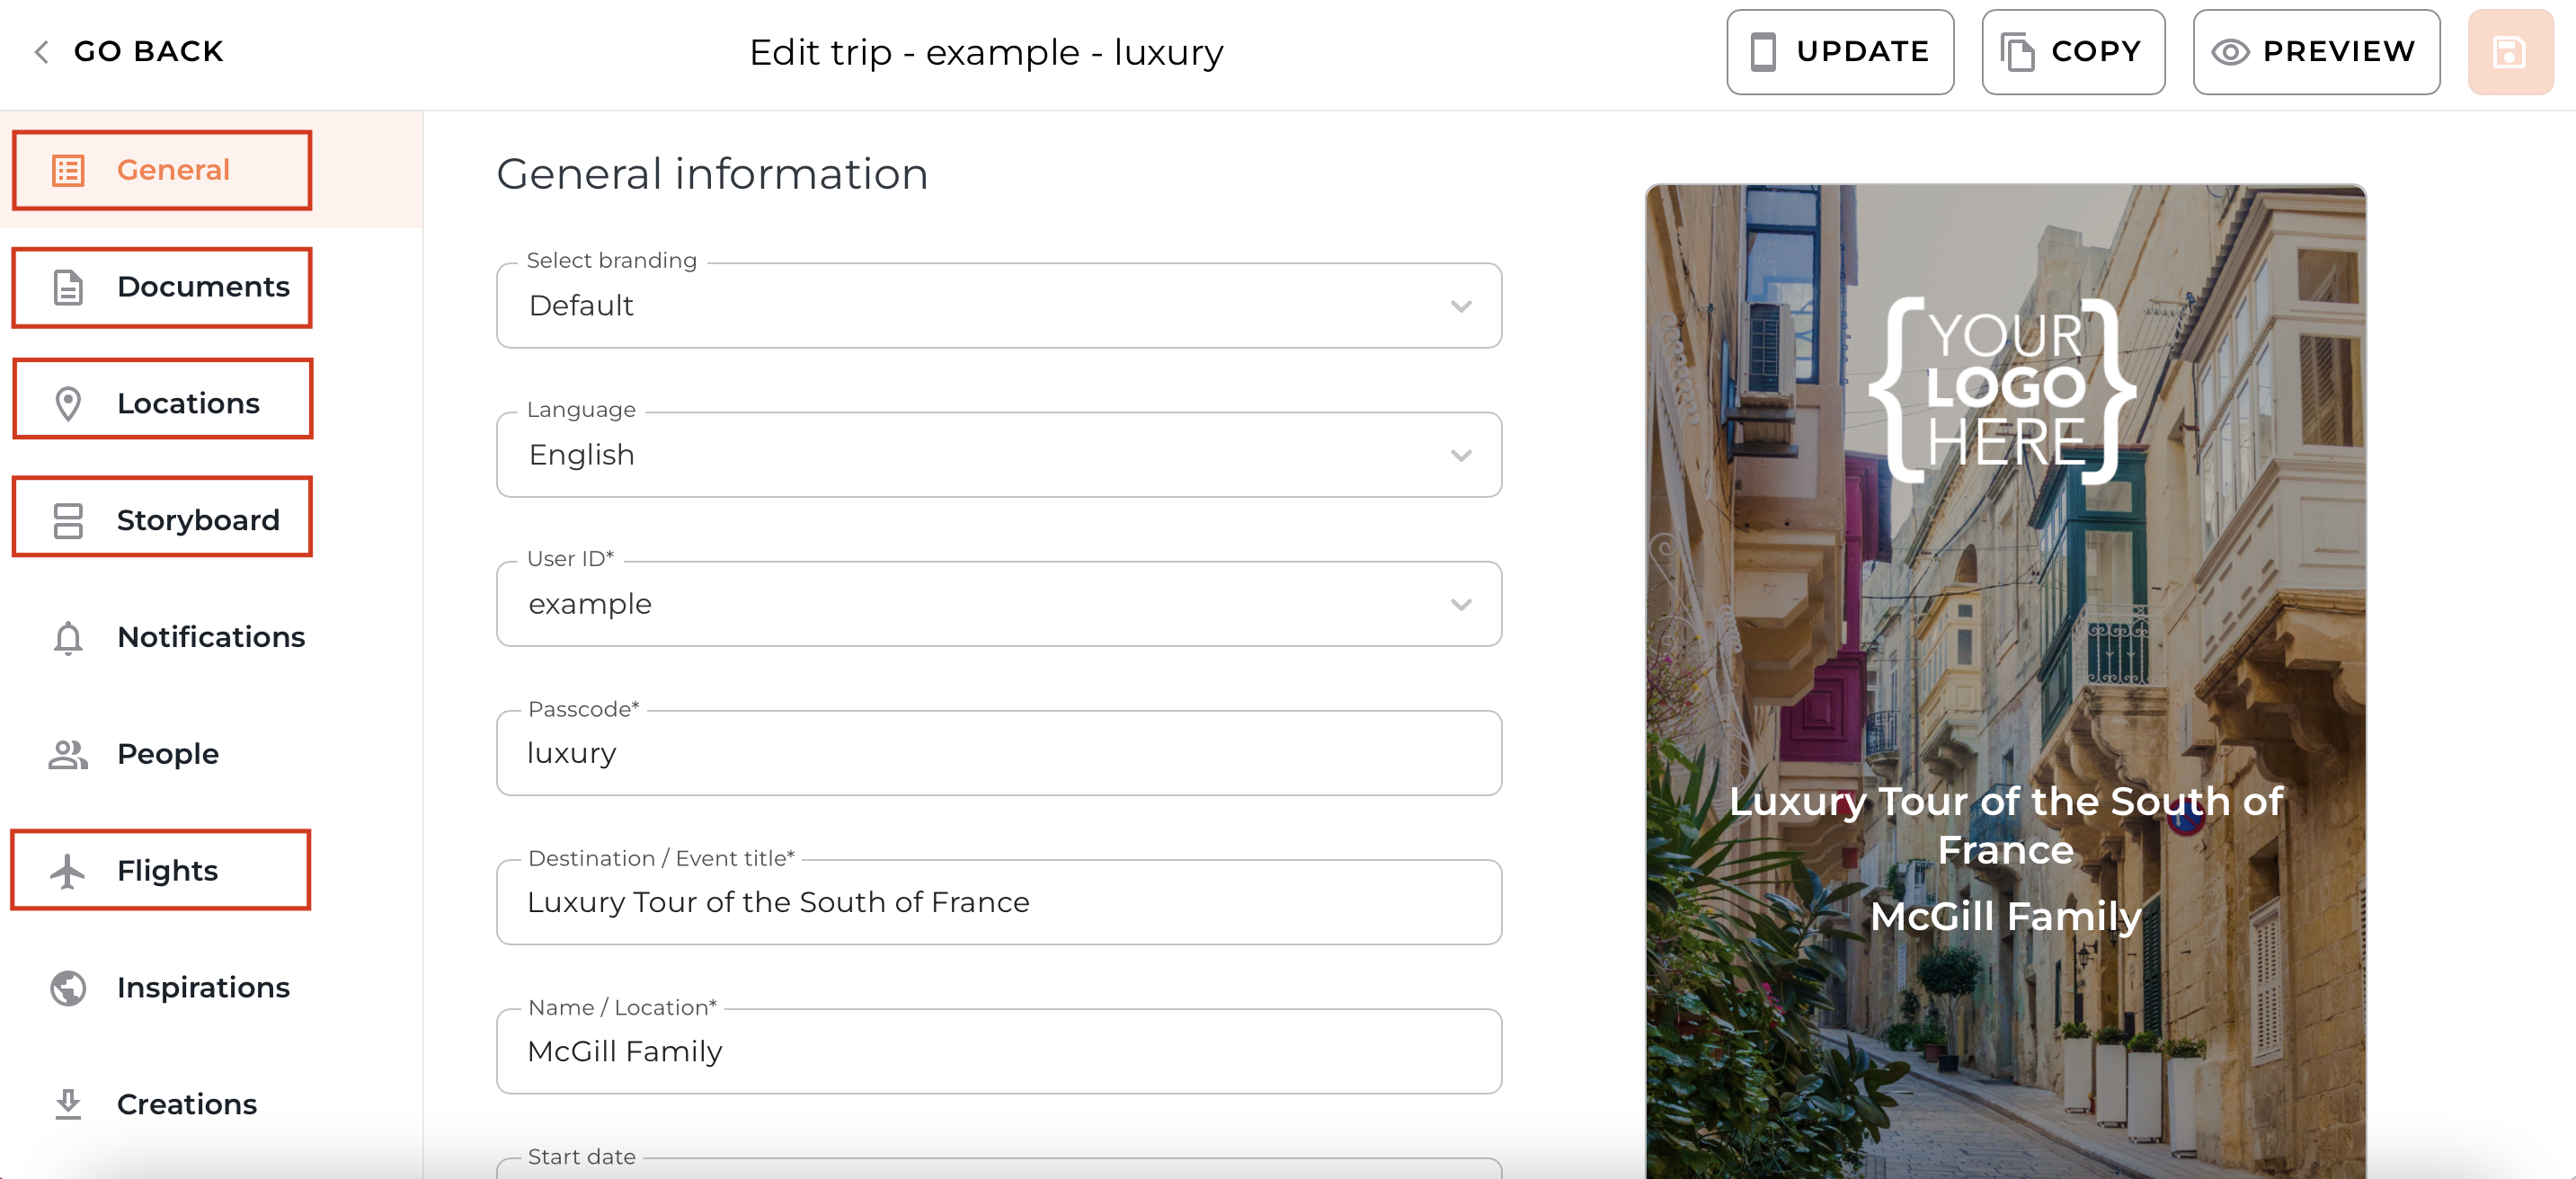
General Information: Add login info, trip title & dates, and main image.
Documents: Upload PDFs and URL links. There are travel and destination document categories that can be renamed.
Locations: Add the main spots clients will be visiting (typically accommodation).
Storyboard: Build your day-by-day itinerary with images, details, and attachments.
Flights: Add flight details so clients get live updates.
Level up your trip
Step 5 - Once you’ve added the basics, enhance your trip with additional features:
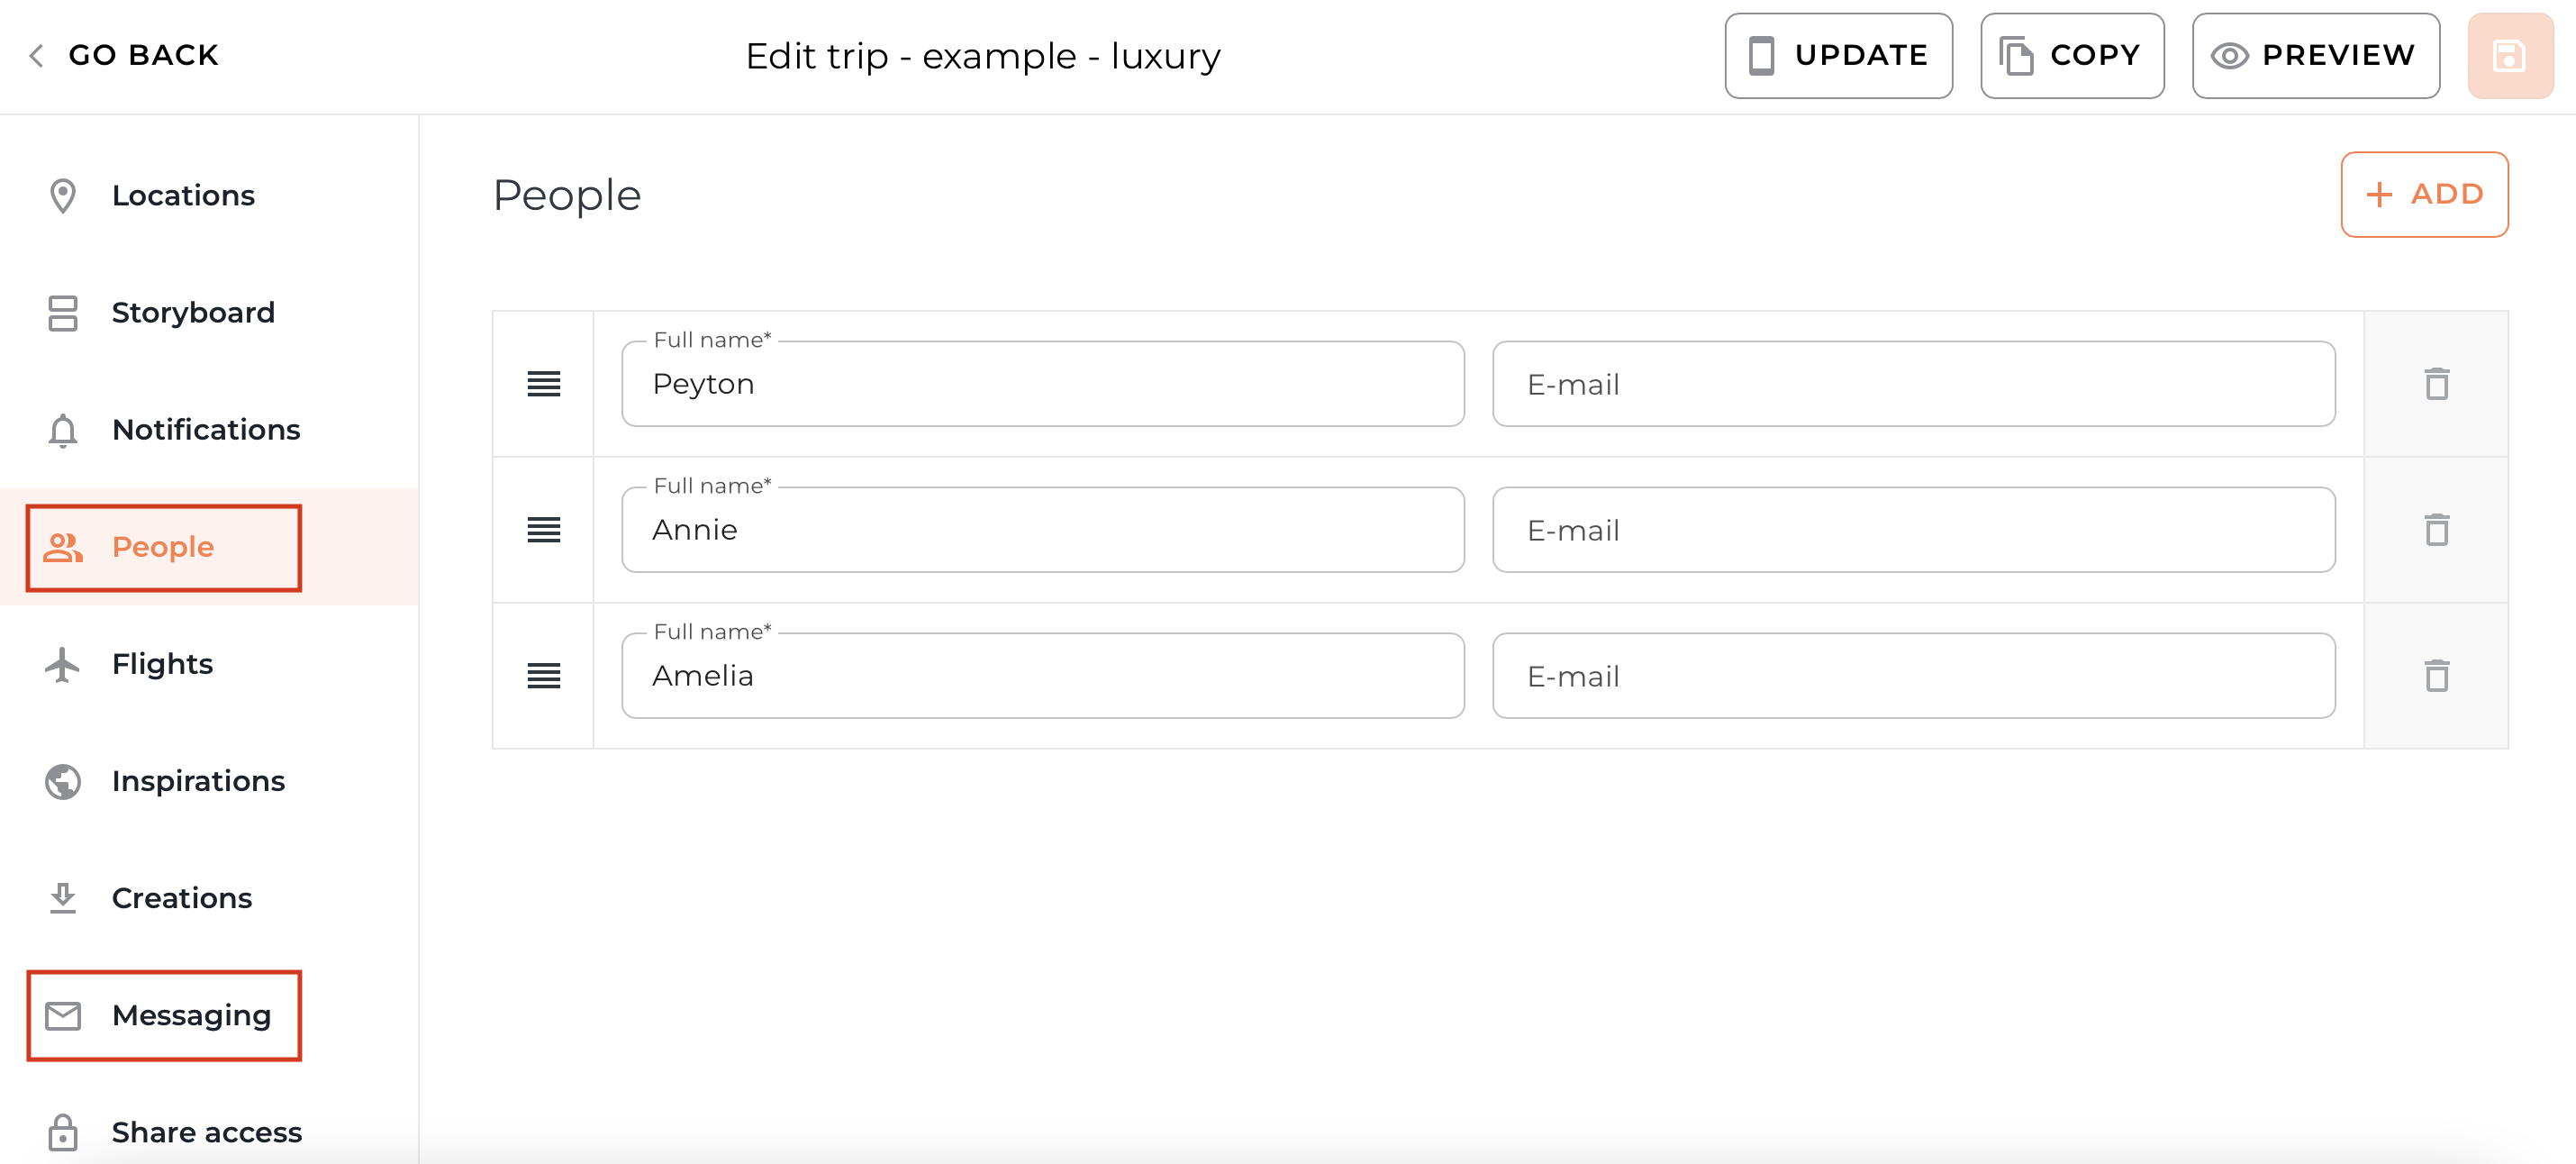
People: Add travellers’ names and use Personalisation to restrict docs, flights, and Storyboard items.
Messaging: Turn on messaging to stay in touch with clients before, during, or after their trip.
Points of Interest: Add local recommendations with category, description, images, and attachments.
Notifications: Set up pre-scheduled notifications for an easy comms schedule and increase their excitment.
Inspirations: Showcase a brochure of other trips and destinations to encourage rebooking.

Send Vamoos out to your clients
Step 6 - Once your trip is created, it’s time to send out the app details and wow your clients. We’ve created free-to-download email, social media, and website templates you can use to share Vamoos with your clients. Find them here.
If you have any further questions or need help with this, contact us at support@vamoos.com.